Step-by-Step Guide to Operating a Loader for High-Efficiency Loading
This article addresses operational matters related to operating a loader, helping operators better complete loading tasks.
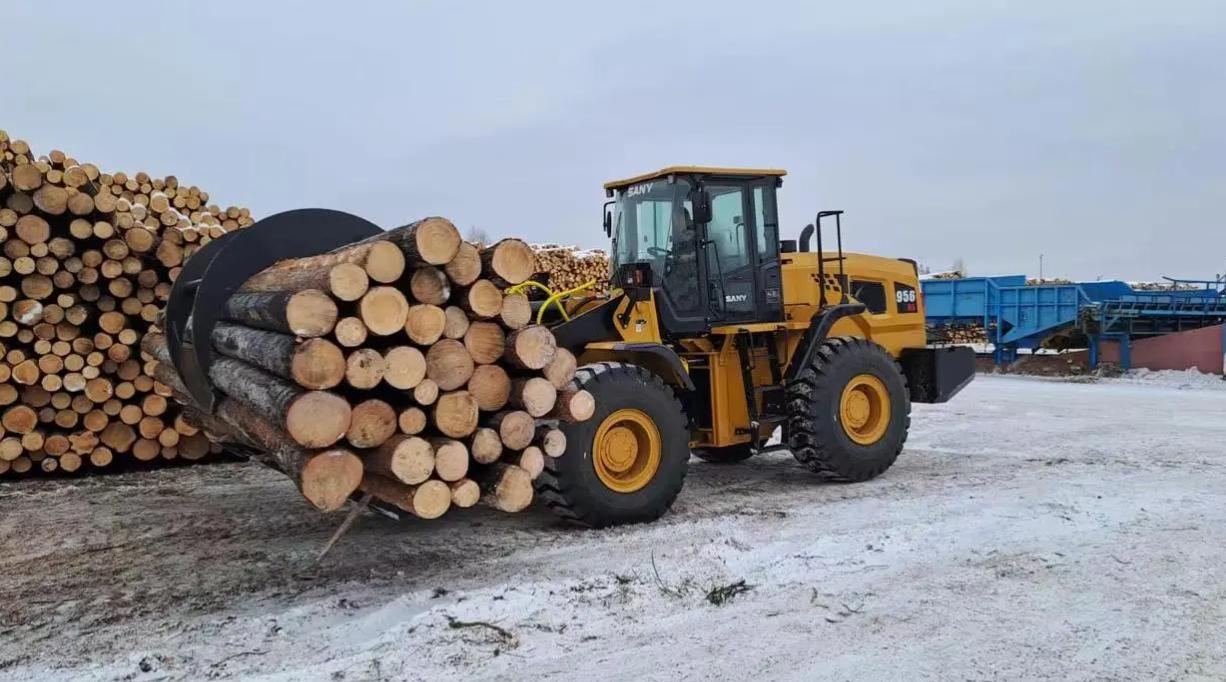
In front of mine rock piles, construction site material transfer areas, or logistics warehouse loading and unloading zones, loaders are always the core equipment for efficient operations. With strong power and flexible loading capabilities, they easily complete key processes such as material shoveling, transporting, and stacking. However, standardized operation is crucial to maximizing the loader’s performance and ensuring safety. Guided by practicality, this article details " operating a loader" from pre-operation preparations to key operational steps, helping operators master standard operating essentials.
Before You Start
The safety and efficiency of loader operations start with comprehensive pre-operation preparations. Only by completing all preliminary preparation work can we build a solid safety barrier and improve operational efficiency for subsequent operations.
Perform a Pre-Operation Inspection
A comprehensive "checkup" of the loader is required before operation to eliminate potential safety hazards of the equipment itself. Inspect the equipment's exterior for collisions, deformation, or oil leaks. Focus on verifying whether the tire pressure is sufficient, the wear is uniform, and the wheel hub bolts are tight. At the same time, check the key components of the engine, hydraulic system, and braking system. Confirm that the oil level and pipeline connections are normal, as well as the flexibility and return of the joysticks and pedals, to ensure the equipment is in good operating condition.
Inspect the Work Area
The work area is the core scene for loader operations, and its environmental conditions directly affect operational safety. It is necessary to pre-inspect obstacles in the area, including potential risk points such as rocks, pipelines, and potholes. At the same time, confirm the spatial scope of the work area, the ground bearing capacity, and whether there are personnel activities or other construction equipment nearby to avoid safety accidents caused by cross-operation.
Enter the Machine Safely
Entering the loader must follow a fixed safety process to eliminate irregular operations. You should pass through the designated boarding and alighting passages of the equipment, grip the handrails tightly with both hands, and step firmly on the pedals. Avoid single-handed operation or jumping on and off the machine. Before entering the cab, clean up debris on the soles of your shoes to prevent slipping. At the same time, check whether the cab door switch is flexible to ensure it can be closed in time after entering.
Adjust Your Position
A proper driving posture is key to ensuring operational comfort and precision. Adjust the seat height and forward-backward position to ensure your feet can naturally step on the pedals with even force. Adjust the backrest angle so that your back fits the backrest naturally, reducing waist pressure during operation. At the same time, adjust the steering wheel position and rearview mirror angles to ensure a clear view without blind spots, facilitating observation of the work area and the surrounding conditions of the equipment.
Operating Loader: Loading and Unloading
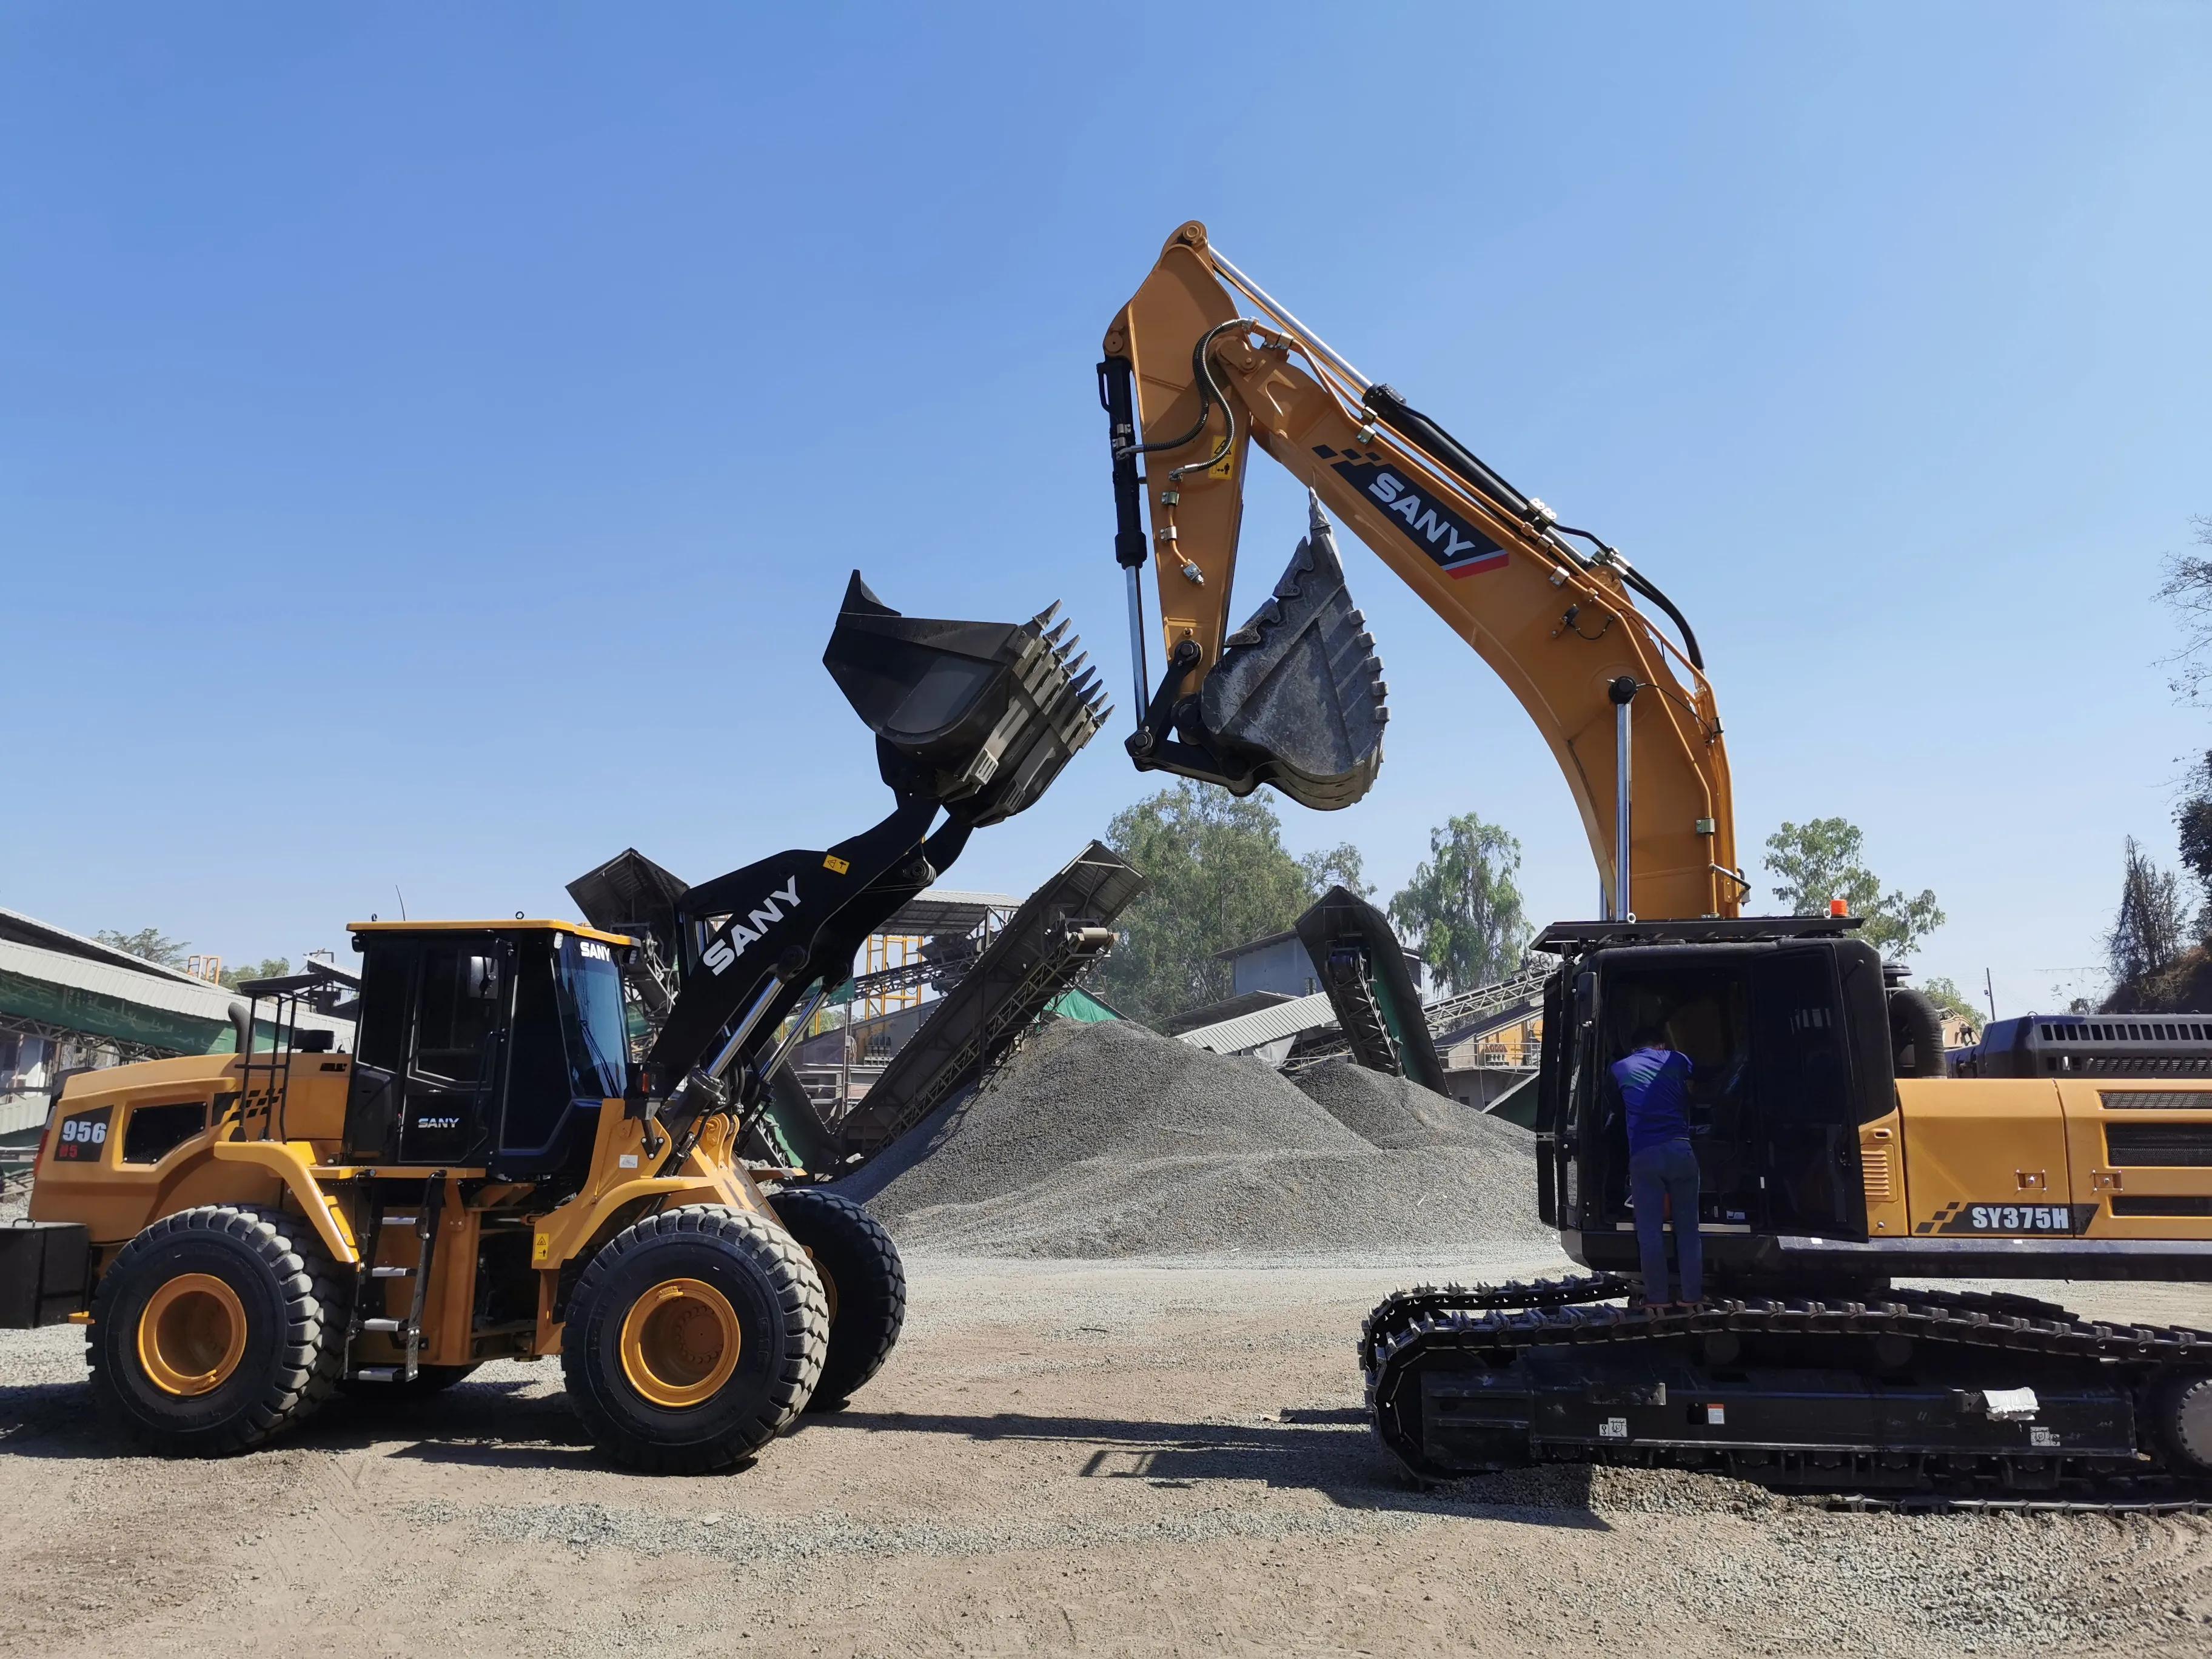
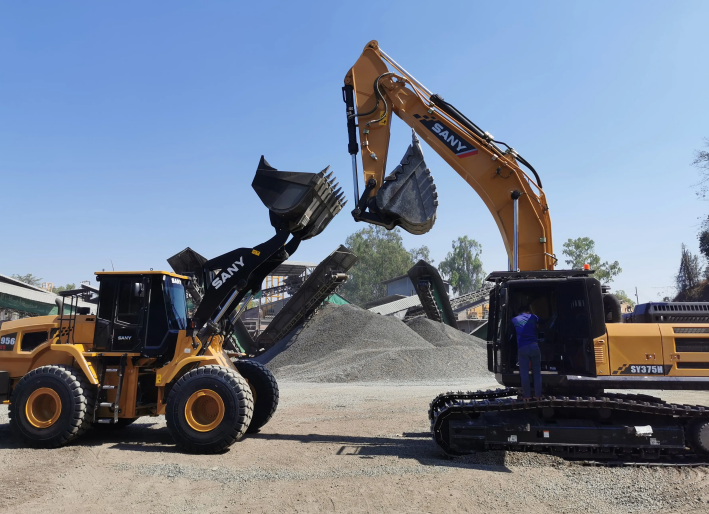
The standardization of loader operations directly determines operational efficiency, equipment service life, and personnel safety. Operation methods vary across different types of loaders, so operators are advised to carefully review the equipment operation manual before use. Loaders are categorized into Wheel Loader and Crawler Loader, as well as Backhoe Loaders—a versatile type combining front-end loading and rear-end excavation functions. Their operating controls also differ from one another. The following content focuses on the general operating procedures of loaders, providing operators with comprehensive process guidance.
Start the engine
1.Starting operation: Insert the key, rotate it clockwise to the "ON" position, and pause for 3-5 seconds to allow the instrument panel to power on and self-check. Observe whether the instrument indicator lights are normal. After confirming there is no fault alarm, continue rotating the key clockwise to start the engine. Once started successfully, release the key immediately to let it automatically return to the "ON" position. If the first start fails, wait 30 seconds before attempting the second start to avoid overheating and damage to the starter motor.
2.Post-start inspection: After the engine starts, keep it idling for 3-5 minutes until the engine water temperature and oil temperature rise to the normal range (usually water temperature above 60℃ and oil temperature above 40℃). During this period, check whether parameters such as oil pressure, water temperature, and voltage on the instrument panel are normal; listen to the engine running sound to ensure it is smooth and free of abnormal noises; inspect the hydraulic system for leaks and test the flexibility and smoothness of the control lever in each gear. Only after confirming everything is normal can subsequent operations be carried out.
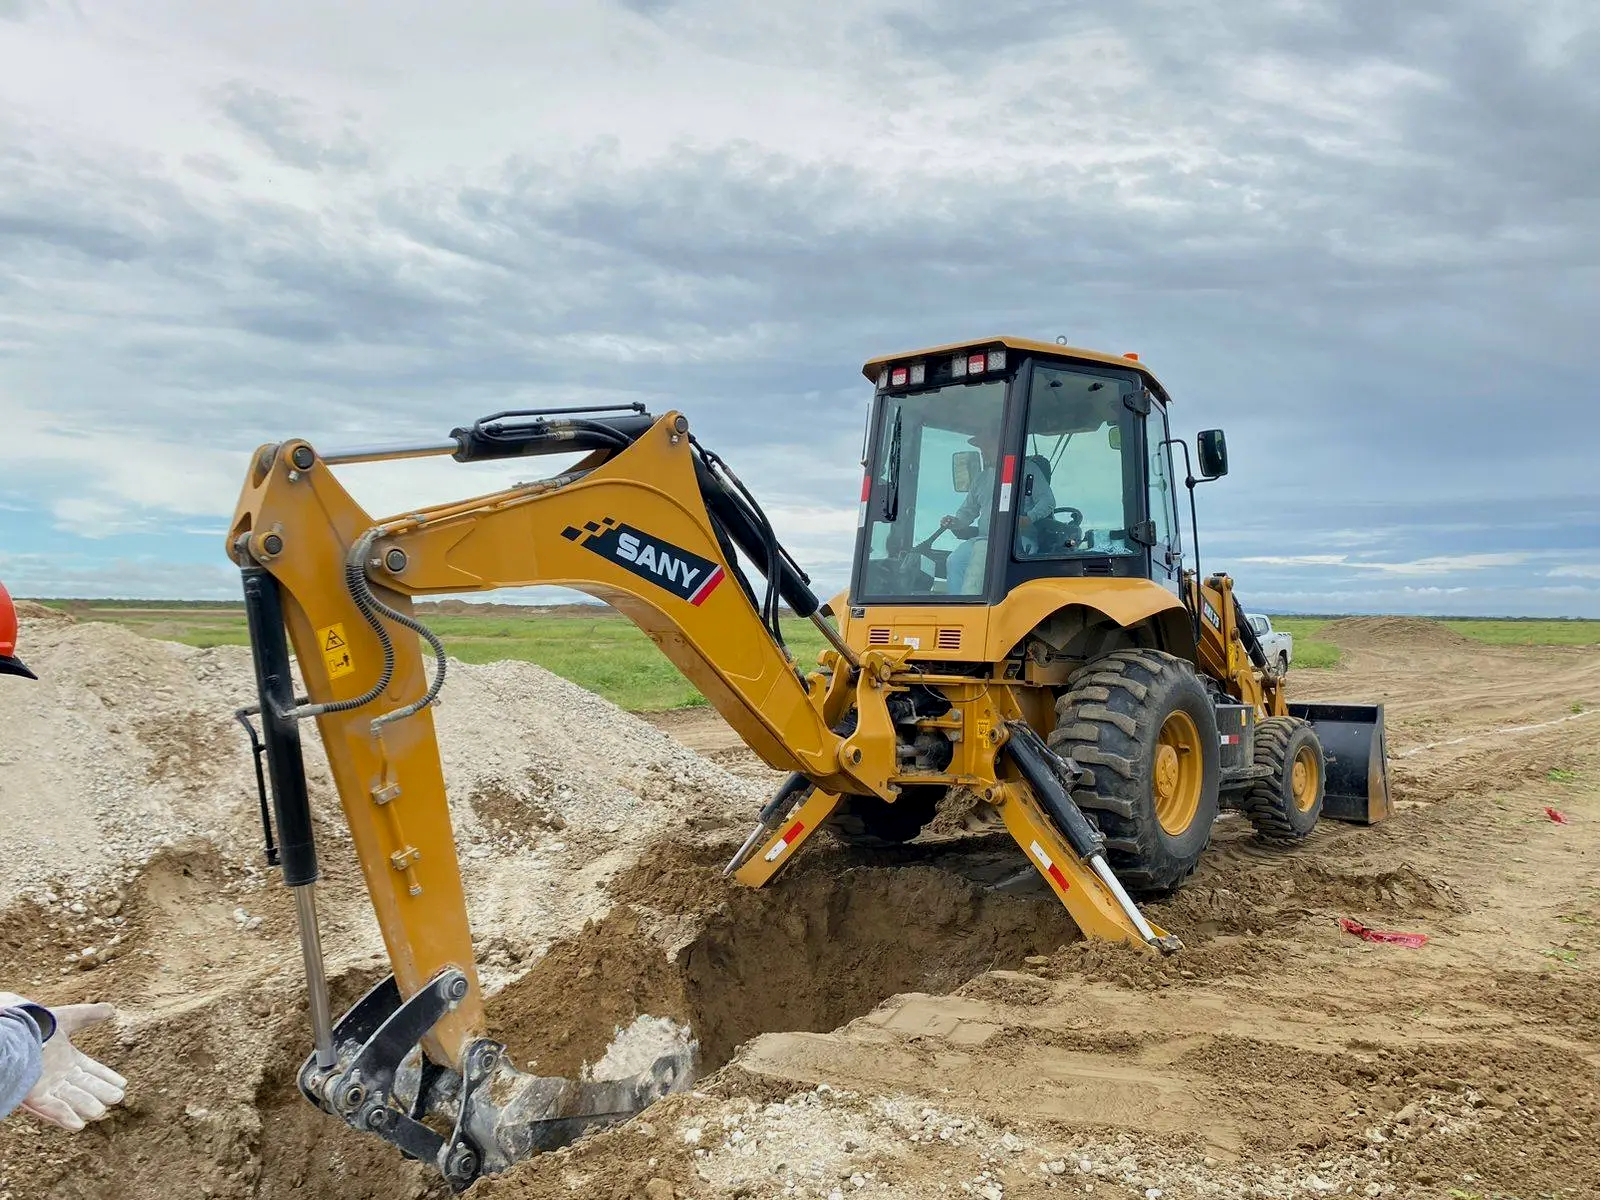
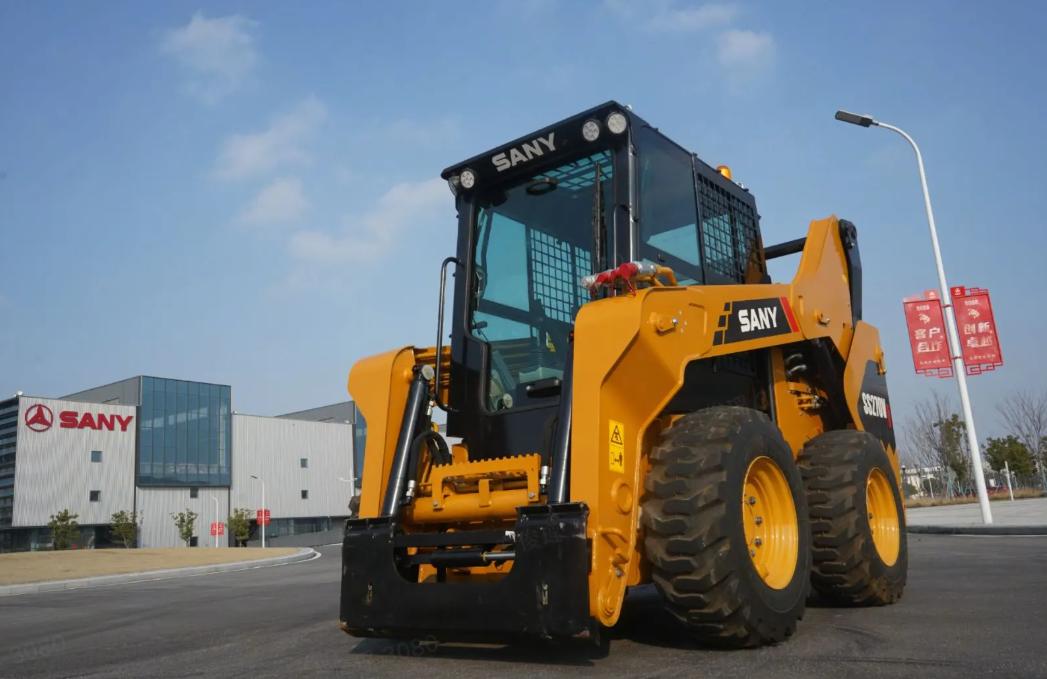
Such as SANY Backhoe Loader are equipped with high-powered engines, which not only start quickly with greater power and lower fuel consumption but also are easy to control, making operation more comfortable.
Control the Bucket
1.Familiarize with controls: Identify the functions of the bucket control lever in the cab. Typically, it has four basic positions: 'Lift', 'Lower', 'Curl', and 'Dump'. Some models include a "Float" position for grading. Ensure the lever is in the neutral position before operation to prevent accidental movement.
2.Lifting the bucket: Adjust the engine speed to a moderate range (usually 1500-2000 RPM). Slowly push the lever to the "Lift" position to raise the bucket gradually. Monitor the lifting speed and adjust lever pressure based on task needs—avoid sudden pushes to prevent shaking. Return the lever to neutral when the bucket reaches the desired height to stop lifting.
3.Lowering the bucket: Confirm no personnel or obstacles are below the work area, then slowly pull the lever to the "Lower" position. Control the lowering speed via lever pressure; slow down when approaching the ground to avoid harsh impacts. Return the lever to neutral once the target position is reached.
4.Curling the bucket: To curl, slowly push the lever toward the "Curl" position, closing the bucket teeth inward. Observe the curl degree to prevent material spillage—typically, a 30°-45° angle with the ground is optimal. Return the lever to neutral when curling is complete.
5.Dumping the bucket: Ensure the dumping area is safe, then lift the bucket above the target (e.g., truck bed, stockpile). Slowly pull the lever to the "Dump" position to start unloading. Adjust lever pressure to control speed and volume, avoiding rapid dumping that causes splashing. After dumping, return the lever to neutral and lower the bucket to a suitable position.
Load Material
1.Pre-operation preparation: Confirm the type of material (e.g., gravel, soil, coal) and its stacking condition. Plan the loader’s route and loading position. Check for collapse risks in the work area; add if needed. Coordinate with on-site personnel to confirm signals (if any) for smooth communication.
2.Approach the pile: Lower the bucket until teeth nearly touch the ground. Maintain appropriate engine speed and drive slowly toward the pile. Watch for obstacles, slow down when approaching, and align the bucket’s centerline with the loading point.
3.Penetrate the pile: Stop the loader at a proper distance from the pile. Slowly push the lever to "Dump" to fully open the bucket teeth, then drive forward gradually while pulling the lever to "Curl," allowing teeth to penetrate the material. If resistance is high, slightly increase engine speed—never forcefully rush to avoid tooth damage or loss of control.
4.Fill the bucket: After penetration, continue curling slowly while inching forward to fill the bucket. Stop advancing when the bucket is full (indicated by engine load or lever resistance). Fully curl the bucket, then lift it 50-80 cm off the ground to avoid dragging.
5.Exit the pile: Confirm the bucket is full and properly lifted, then reverse slowly out of the pile area, watching for rear obstacles. Adjust the loader’s direction to prepare for loaded travel.
Drive with a Load
1.Pre-travel check: Verify the bucket height (50-80 cm off the ground—too high causes shaking, too low risks dragging), ensure it’s fully curled to prevent spills, and check that the parking brake is released with the gear lever in neutral.
2.Starting off: Select the appropriate gear based on distance and terrain (1st for short, slow travel; 2nd for longer, flat routes). Slowly press the accelerator while releasing the parking brake to start smoothly. Avoid sudden acceleration to prevent material spillage from inertia.
3.Travel control: Maintain stable engine speed and adjust speed to road conditions—slow down on rough terrain, when turning, or near personnel. Grip the steering wheel firmly to keep the loader stable; avoid sudden acceleration, braking, or turns to prevent rollover from shifting loads. If spillage is noticed, stop immediately to readjust the bucket.
4.Meeting/avoiding traffic: When encountering vehicles or people, slow down, sound the horn, and stop if necessary to maintain a safe distance. Never occupy the road or force through when loaded.
5.Reach the dumping point: Slow down gradually and stop smoothly near the dump site to avoid material shifting from hard braking. Engage the parking brake to prepare for unloading.
Dump the Load
1.Pre-dumping preparation: Confirm the dump site is level and stable, with no personnel or obstacles. Coordinate with relevant staff (e.g., truck drivers) to confirm signals and requirements. For truck unloading, ensure the vehicle is stationary with no one inside.
2.Adjust bucket height: Based on the dump site height (e.g., truck bed, stockpile), slowly push the lever to "Lift" until the bucket is 10-20 cm above the target. This ensures materials fall correctly, preventing accumulation at the edge or collisions.
3.Precise dumping: Align the loader so the bucket faces the dump position. Slowly pull the lever to "Dump," controlling pressure for even unloading. For trucks, unload gradually from front to rear to avoid uneven weight distribution. Monitor the process and adjust bucket angle/speed as needed.
4.Clear residual material: After dumping, gently toggle the lever between "Dump" and "Curl" to shake the bucket, removing leftover material that could spill or solidify later.
5.Post-dumping steps: Lower the bucket to ~50 cm off the ground, return the lever to neutral, release the parking brake, select a gear, and drive slowly away from the dump site to prepare for the next cycle or park at the designated area.
Shutting Down the Loader
After completing loading operations, following a standardized shutdown process is not only crucial for maintaining stable equipment performance and extending service life but also an important measure to prevent safety accidents and ensure on-site safety. The shutdown must adhere to scientific steps, as detailed below:
Park on Level Ground
Prioritize parking on a flat, solid level surface—never on slopes, potholes, or edge areas. If no ideal level ground is available at the work site, conduct simple leveling in advance. Adjust the machine slowly to ensure front and rear wheels are on the same horizontal plane, while maintaining a minimum 1.5-meter safety distance from the working surface, obstacles, and other equipment. This prevents the loader from rolling or tipping due to uneven ground, and avoids uneven stress on the hydraulic system caused by machine tilting, reducing wear on internal components.
Engage the Parking Brake
Once the loader is stationary, immediately pull up and lock the parking brake lever, ensuring it is fully engaged. For temporary shutdowns on slopes (not long-term parking), additionally place triangular blocks or stones under both front and rear wheels for auxiliary fixation, preventing rolling in case of brake system failure. Confirm the brake indicator light is on; if necessary, gently press the accelerator to test brake stability and ensure the parking brake is fully effective.
Lower the Bucket
Operate the control lever to lower the bucket slowly until the teeth are fully in contact with the ground, ensuring the bucket bottom fits tightly against the surface (avoid suspension). If the ground at the shutdown site is soft, adjust the bucket angle appropriately to increase the contact area and prevent the machine from sinking. Lower the bucket at a steady speed to avoid damage to teeth or bucket cylinders from sudden impacts, and ensure the bucket is in a non-operational state to eliminate the risk of mechanical malfunction.
Turn off the Engine
First, reduce the engine speed to idle and maintain it for 3-5 minutes to allow full cooling of components—especially high-temperature parts like the turbocharger—avoiding heat accumulation and damage from sudden shutdown. Then turn off the ignition switch, remove the key, and keep it properly. For diesel engines, confirm the fuel switch is closed; in low-temperature winter conditions, follow operating procedures for engine antifreeze protection (e.g., adding antifreeze or activating the preheating device).
Perform a Quick Walkaround Check Before Leaving
Conduct a walkaround inspection in the order of "front-side-rear," focusing on the following key checks:
Whether the bucket teeth are worn or broken, and if there are any leaks in the hydraulic pipelines;
Whether the tire pressure is normal, and if there are any bulges or punctures;
Whether there are abnormal noises or odors in the engine compartment, and if the engine oil and coolant levels are within the standard range;
Whether the braking system has leaks, and if the parking brake is reliable.
Record and report any abnormalities promptly for handling to ensure the equipment is in a safe condition before the next startup.
Safety Practices and Avoiding Mistakes
Given the loader’s large size, complex working environment, and involvement in multiple tasks such as material loading/unloading and site grading, even minor negligence during operation can lead to serious safety accidents, including equipment damage and casualties. Therefore, strictly adhering to safe operating specifications and accurately avoiding common operational errors is not only core to ensuring the safety of operators but also key to extending equipment service life and maintaining project progress.
Safe Operating Specifications
Pre-Operation Preparation
- Vehicle Inspection: Check tire pressure and tread, removing stones embedded in treads; test brake pedals to ensure responsiveness and parking brake effectiveness; verify adequate levels of engine oil, hydraulic oil, and fuel, and check for leaks in hydraulic pipelines.
- Environment Observation: Clear obstacles in the work area (e.g., potholes, wires, building materials) and mark hazardous zones; confirm no unauthorized personnel are nearby, especially in blind spots (right side and rear of the machine).
- Personal Protection: Wear work clothes, non-slip shoes, and a safety helmet; secure long hair under the helmet; avoid wearing scarves or gloves when operating control levers.
In-Operation Practices
- No Overloading: Do not exceed the specified bucket load limit to prevent center-of-gravity shift and rollover.
- Smooth Operation: Avoid sudden steering or braking; operate slowly and steadily when driving at high speeds or carrying heavy loads.
- Ramp Driving: Maintain a constant speed when climbing; do not shift gears midway. When descending, drive in gear to use engine braking—never coast in neutral. If stopping is necessary, place stones under wheels to prevent rolling.
- Blind Spots: Confirm no people or obstacles are nearby when reversing or turning; use a spotter if needed. Rely on multiple visual checks rather than just rearview mirrors.
- No Passenger Carriage: Never use the bucket to carry people or transport individuals, including lifting people to heights.
Post-Operation Parking
- On level ground: Lower the bucket flat to the ground and engage the parking brake.
- On slopes: Place triangular blocks or chocks under the downhill-side tires. Let the engine idle for 5 minutes before shutting down—never turn off a high-speed-running engine abruptly.
Avoiding Common Mistakes
- Overloading: Excess load shifts the vehicle’s center of gravity, increasing rollover risk, especially on slopes or soft ground. Strictly follow the bucket’s rated capacity.
- Sudden Steering/Braking: Abrupt actions at high speeds or with heavy loads can cause the machine to sway, spill material, or lose control. Operate smoothly and gradually.
- Turning/Parking on Slopes: These actions easily lead to rollover or rolling due to shift. Maintain steady speed uphill, use gear braking downhill, and secure the machine when parked.
- Working in Blind Spots: Failing to check blind spots during reversing or turning risks collisions. Increase visual checks and use a spotter if necessary.
- Using Bucket for Transporting People: The bucket is designed for materials only; carrying people poses extreme risks. Never use it as a transport tool.
- Neglecting Warm-up: Insufficient warm-up before heavy operation in winter accelerates component wear. Let the engine run at low speed for 5-10 minutes until water temperature stabilizes before increasing speed or load.
- Improper Tire Use: Using summer tires or severely worn tires on slippery winter surfaces increases skidding risks. Use winter tires or snow chains.
- Revving Before Shutdown: Sudden acceleration before shutdown causes incomplete combustion, carbon buildup, and increased wear. Idle for 3-5 minutes first.
- Notes: Operators must be certified; never work under the influence of alcohol. Stay focused during operation and avoid distractions. Conduct regular maintenance to promptly address potential faults.
Conclusion
Standardizing operating a loader is not only core to ensuring operational safety and efficiency but also key to extending equipment service life and reducing maintenance costs. From comprehensive pre-operation preparations, equipment and environment inspections, to precise in-operation control, safety hazard avoidance, and standardized post-operation shutdowns with hidden danger checks—strict execution of every link is a test of the operator’s professional competence and a responsibility to on-site safety and project quality.
FAQs
How to Operate a Front End Loader?
Operation methods vary by loader model—always refer to the equipment operation manual. Loaders are categorized into wheeled and crawler types, with distinct operating controls. Below are general operational details:
Basic Startup and Operation Process
Safe boarding/alighting: Maintain three-point contact (hands and feet on handrails and pedals) when entering or exiting the loader. Fasten the seatbelt and close doors/windows to reduce cab dust.
Startup and warm-up: Insert the key into the ignition switch to start the engine, then warm it up according to the manufacturer’s guidelines.
Activate controls: Release the parking brake and engage the operating controls. The right foot pedal is for acceleration, and the left for braking.
Steering and accessory control: Control the direction via the left joystick or steering wheel (depending on the model); use the right joystick to operate the boom and bucket.
Core Operational Rules
Check for obstacles around the bucket before lifting or lowering it.
Keep the bucket low and curled to ensure equipment stability and clear visibility.
Drive at low speed and turn cautiously to prevent material spillage or equipment rollover.
Shutdown ProcessLower the bucket to the ground, let the engine idle to cool down, engage and lock the parking brake before leaving the equipment.
Is Operating a Loader Difficult?
The difficulty of operating a loader varies by individual, but overall it is not overly challenging—especially for those with basic mechanical operation experience or strong learning abilities.
Operation CharacteristicsLoader operation mainly involves basic actions such as moving forward/backward, steering, and loading materials. The interface is relatively simple, with intuitive operating logic for joysticks and pedals. Compared to complex construction machinery like excavators, loader operation focuses more on straight-line travel and simple tasks, with lower requirements for spatial awareness and hand-eye coordination.
Learning CycleBased on the experience of most training institutions, novice operators can typically master basic skills and achieve independent operation after 15-30 days of systematic training (including theory and hands-on practice). Some fast learners may grasp core skills in an even shorter period.
How to Dig with a Front-end Loader?
The steps for digging with a front-end loader are as follows:
- Approach the material: Drive slowly toward the pile in 1st or 2nd gear, avoiding high-speed impact. Stop the bucket approximately 30 cm off the ground when approaching, then lower it gradually to prevent the front wheels from lifting or tires slipping due to direct impact.
- Penetrate the material: While inserting the bucket into the material, slowly lift the boom to use its lifting force to assist penetration—avoid inserting the bucket too deeply or encountering excessive resistance.
- Control bucket angle: Keep the bucket flat when digging loose materials; slightly tilt it downward when digging hard materials like gravel to ensure the bucket edge fits the material and reduces resistance.
- Curl and fill the bucket: Operate the joystick to curl the bucket and check if it is fully loaded. If overloaded, quickly curl and tilt the bucket to shake off excess material, preventing spillage during transport.
Featured Products


Recommend Blogs
Skid Steer vs Wheel Loader: Choosing the Right Equipment for Your Job
his article provides you with basic knowledge of construction site equipment, as well as a comparison of the differences between skid steer vs wheel loader.

What Is a Wheel Loader? From Basic Definition to Core Applications
This guide covers key aspects such as definition and working principle, and explains in detail what is a wheel loader to help you select the right model smoothly.
Skid Steer Loader Uses Guide: Helping You Work Efficiently
This article explains skid steer loader uses and provides specific selection recommendations.