How to Put Track Back on Mini Excavator? Detailed Step-by-Step Guide
This article explains the main causes of mini excavator track detachment, shows how to put track back on mini excavator, and offers maintenance tips to help operators prevent future failures.
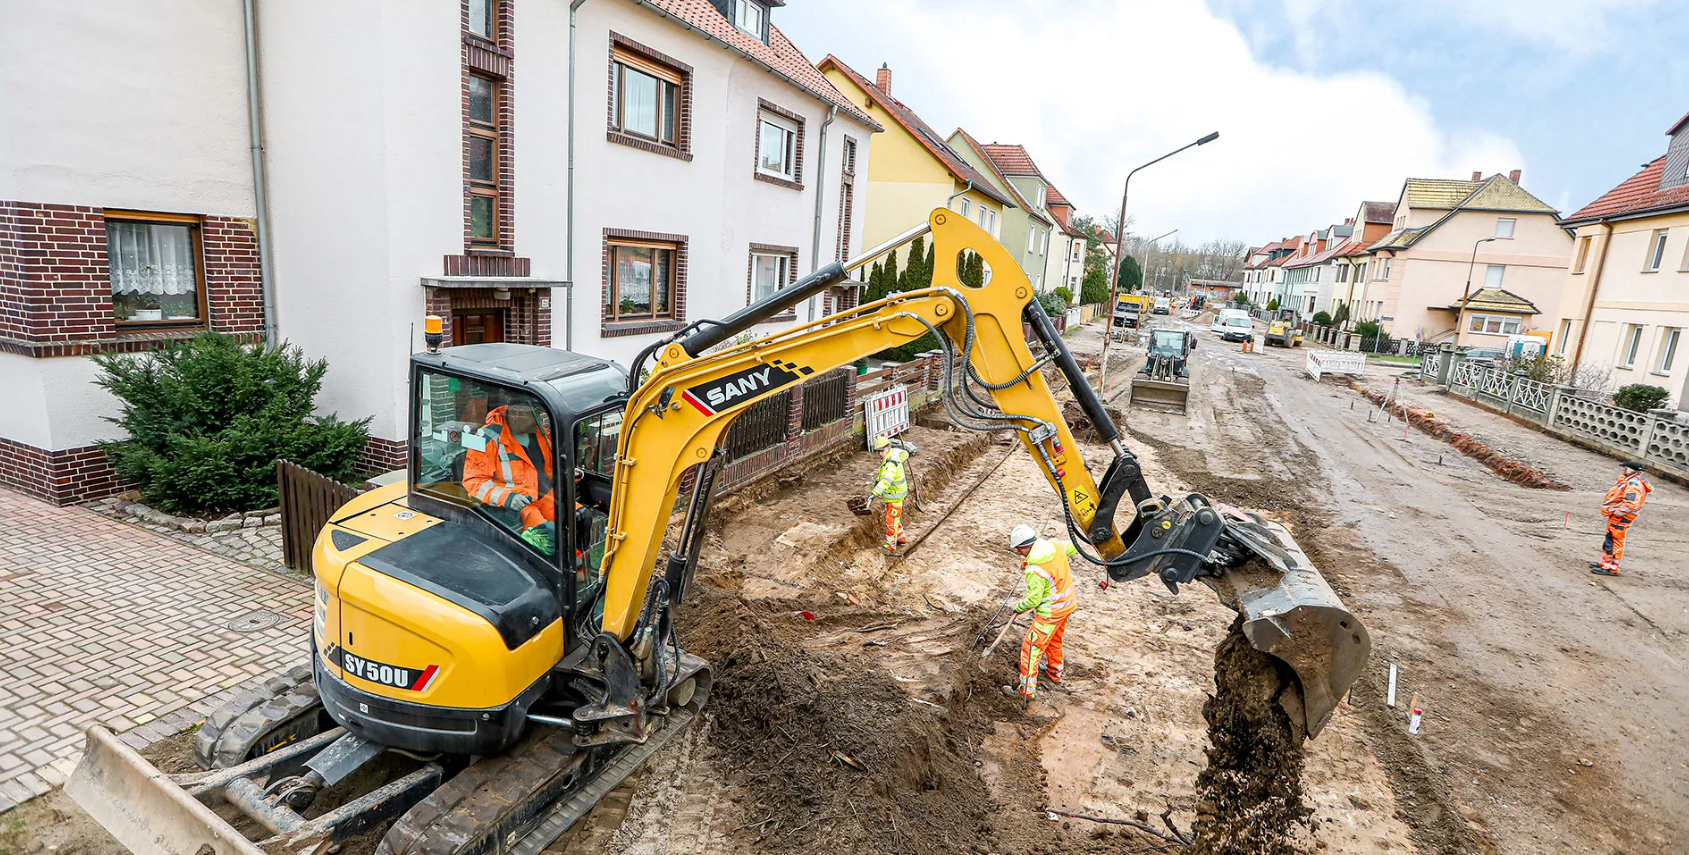
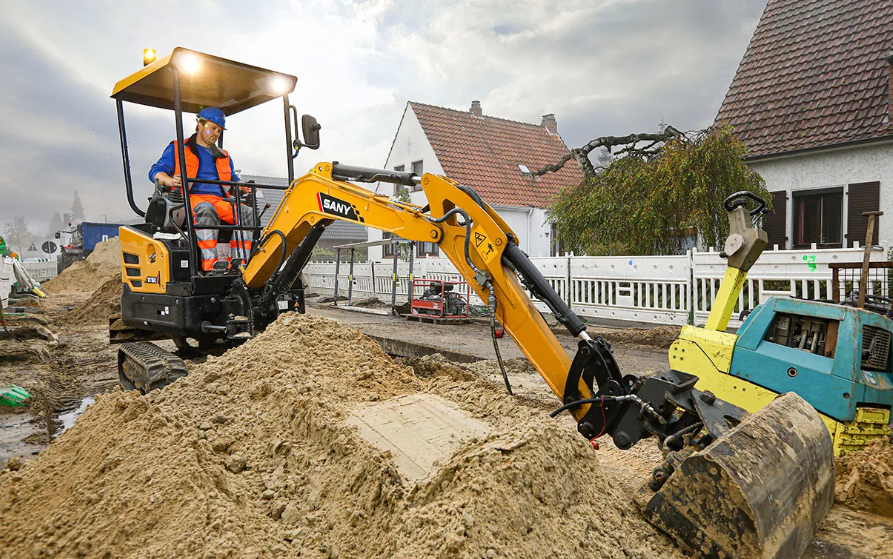
Mini excavators are widely used in construction, agriculture, and municipal maintenance thanks to their flexible performance, and the track, as the core component of the undercarriage, directly affects the machine’s proper operation. On the job, track derailment is a common fault operators face; it not only interrupts work but, if handled improperly, can cause secondary damage to the track or the machine. This article begins by examining the causes of track derailment, then gives a step-by-step walkthrough of how to put track back on a mini excavator, and offers practical maintenance tips to help reduce track failures and keep mini excavators operating efficiently.

Causes of Mini Excavator Tracks to Come Off
Track derailment on mini excavators is not accidental. It is usually related to equipment use, maintenance, and site conditions. The main causes fall into the following categories:
Track Tension Abnormalities
If track tension is too loose, gaps occur between the track and the drive sprocket or idler, and the track can slip off during steering, climbing, or rough travel. If tension is too tight, wear between the track and wheels accelerates, and long-term use can deform track pitch, indirectly increasing derailment risk. Accurate control of track tension is critical to prevent derailment on both a mini excavator and a medium excavator.
Challenging Working Conditions
Mud, gravel, and dense vegetation can easily get trapped between the track and wheel. As debris accumulates, proper engagement is disturbed, extra impact forces occur, and the track can eventually derail.
Wear and Aging of Track Components
With prolonged use, track shoes, track links, drive sprockets, and idlers wear to varying degrees. For example, severe wear on the track shoe’s grouser reduces traction, and worn drive sprocket teeth lead to poor meshing. These aging and wear issues raise the likelihood of track derailment.
Operator Error
Frequent sharp turns, sudden acceleration or braking, or forcing operation on steep slopes subjects the track to excessive lateral and impact loads beyond its limits, which can trigger derailment.
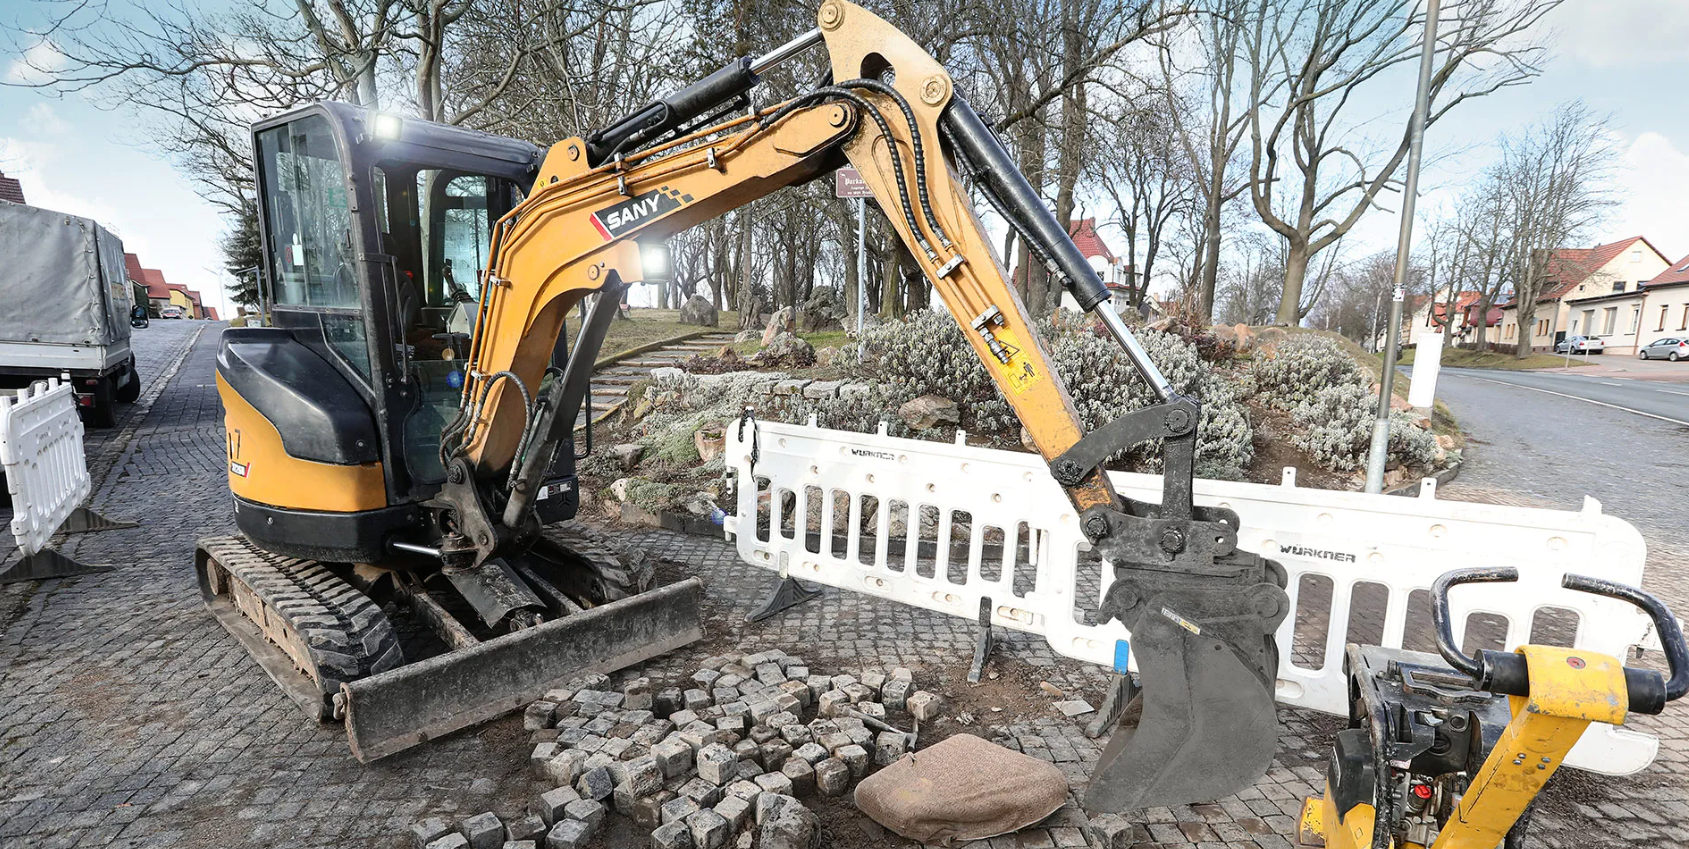
How to Put a Track Back on a Mini Excavator?
When a mini excavator track derails, prepare the necessary tools first, then reinstall the track step by step to ensure a safe, efficient procedure and avoid unnecessary damage.
Essential Tools You'll Need
1. Jack or hydraulic jack: Used to lift the machine’s side to clear the track from the ground and provide working space. Choose a jack rated to match the excavator's weight and ensure stable support.
2. Pry bar: Used to lever the track and adjust the relative position between the track and wheels for alignment.
3. Socket wrench set: Required to remove and reinstall components related to the track tensioning system, such as the release valve or grease fitting; ensure socket sizes match the machine’s bolts.
4. Grease gun and grease hose: Used to adjust track tension by pumping grease into the tensioner piston; ensure the hose and fitting seal properly.
5. Soft-faced hammer: If minor misalignment occurs during installation, use a rubber mallet or brass hammer to gently tap the track or wheel and help align parts without causing hard damage.
6. Cleaning tools: Wire brush, high-pressure washer, and similar tools to remove mud, gravel, and debris from the track, drive sprocket, and idler so mating surfaces are clean.
Step-by-Step Guide: Reattaching the Track
1. Safety prep and site cleaning: Shut down the excavator and set the parking brake. Clear obstacles from the work area. Use a wire brush and high-pressure washer to thoroughly clean mud, gravel, and debris from the track, drive sprocket, and idler so the installation surfaces are free of foreign material.
2. Release track tension: Locate the release valve in the middle of the track frame and open it with a socket wrench. When grease sprays out and the track visibly loosens, keep the release valve cap in a clean place. This creates the slack needed to reposition the track.
3. Lift the machine: Place the jack or hydraulic jack under the track side frame at a secure support point. Slowly lift the machine until the track is completely off the ground. Put wooden blocks or metal shims under the machine to prevent accidental drop.
4. Position the track: Use the pry bar to pull the derailed track between the drive sprocket and the idler, aligning the track links with the sprocket teeth. Adjust fore and aft so the track shoes sit flush against the idler flange without lateral offset.
5. Mesh the track with the drive sprocket: One person holds the track in position with the pry bar while another slowly engages the travel motor (with the machine still jacked up) so the drive sprocket turns and pulls the track onto the teeth. If misalignment remains, use the pry bar or soft-faced hammer to fine-tune until the track fully seats in the sprocket.
6. Lower the machine and adjust tension: Slowly lower the jack so the track lightly contacts the ground. Find the grease fitting at the center of the track frame and pump grease with the grease gun, watching the track. Adjust until the middle of the track (over the carrier roller) sags about 1–2 inches (3–5 cm), which meets common tension requirements.
7. Inspect and test: Check track engagement (no lateral offset, no debris), then run the excavator in an open area for a short distance with straight travel and turns. Confirm the track runs smoothly with no unusual noise or looseness before returning to work.
Post-Installation Maintenance Tips to Prevent Future Detracking
After installing the track on a mini excavator, proper daily maintenance is crucial to prevent future derailments. You can take the following steps:
1. Regularly Check Track Tension
Check the track tension at least once a week, adjusting it based on the working environment and usage. After working on soft ground, tighten the track to prevent debris from being trapped. After working on hard surfaces, loosen it slightly to reduce wear.
2. Timely Clean Track Debris
After each operation, use a high-pressure washer or wire brush to clean dirt, gravel, and debris from the track, drive sprocket, and idler. This prevents debris buildup that can affect the meshing state, especially after working on muddy or rocky sites where cleaning should be more thorough.
3. Regularly Inspect Track and Component Wear
Conduct a comprehensive inspection of the track shoes, track links, drive sprockets, idlers, and carrier rollers once a month. If you find cracks in the track shoes, excessive wear on track links, or deformation of drive sprocket teeth, replace the damaged parts promptly to prevent further issues.
4. Standardize Operational Habits
Operators need to carefully receive professional training, develop standardized operating habits, and avoid operations such as sudden turns, sudden accelerations, and sudden decelerations. When operating on sites with large slopes, they must control the driving speed to ensure equipment stability and reduce the additional pressure on the tracks.
Major brands like SANY provide excavator-related operation training. Their senior service engineers, relying on solid professional knowledge in fields such as hydraulics, electrical systems, and engines as well as rich practical experience, have helped many operators master operating skills and solve problems in equipment operation, maintenance, and upkeep.
5. Regular Lubrication Maintenance
Follow the excavator’s user manual to lubricate track tensioners, drive sprocket bearings, and other parts regularly. Use the recommended lubricants to ensure smooth movement of components and reduce friction and wear.
Conclusion
This article clearly lays out the causes of track derailment and answers how to put track back on mini excavator, while also providing daily maintenance and management guidance. It helps operators respond to track issues more effectively, ensures stable machine performance during operations, and minimizes the impact of failures on project schedules.
FAQs
How to get the track in on a mini digger?
1. Prepare a jack, socket wrench, pry bar, grease gun, and cleaning tools.
2. Clean the track and work area of debris.
3. Use the socket wrench to open the release valve and relieve track tension.
4. Lift the machine with the jack to raise the track off the ground and stabilize it with wooden blocks underneath.
5. Use the pry bar to adjust the track position, aligning it with the drive sprocket and idler. One person should hold the track in place while the other starts the travel motor to mesh the track with the drive sprocket.
6. Slowly lower the machine and use the grease gun to adjust the track tension (the track should sag 1-2 inches in the middle).
7. Finally, test the movement.
Why does my excavator track keep coming off?
This is often due to improper track tension (too loose or too tight), failure to clean debris after operation, excessive wear on track or wheel components, or improper operation, such as sharp turns and steep climbing. Address these issues by troubleshooting accordingly.
How to adjust the mini excavator track tension?
Track tension is adjusted by controlling the movement of the tensioner piston using grease (lubricant).
If the track is too tight, loosen it: Locate the release valve on the idler-side tensioning device, use a socket wrench to open it, and allow the grease to spray out until the track loosens and sags 1-2 inches in the middle. Close the release valve.
If the track is too loose, tighten it: Attach the grease gun to the oil injection valve on the tensioner, inject grease while moving the machine forward and backward. Stop when the track sags 1-2 inches in the middle or when you feel slight elasticity without looseness.
How tight should a mini excavator track be?
Track tension is generally judged by sag. After supporting the track in a stationary position, the middle section (above the carrier roller) should sag 1-2 inches (approximately 3-5 cm). Refer to the equipment manual for specific guidance. Alternatively, apply light pressure to the middle of the track—there should be slight elasticity and no looseness.
Featured Products


Recommend Blogs
How to Operate a Mini Excavator: A Beginner’s Step by Step Safety Guide
This guide systematically breaks down the essential knowledge of how to operate a mini excavator, helping you work safely and complete tasks efficiently
What Is an Excavator? How to Choose the Right Model for Your Project Needs
Discover what an excavator is and how to choose the ideal model—from compact mini machines to powerful large excavators—for your project’s size, terrain, and productivity needs
How Much Does a Mini Excavator Weigh? Your Complete Guide
A mini excavator’s weight is key to transportation, performance, and practical applications. This article breaks down the question of how much a mini excavator weighs, helping readers understand these compact machines