How to Operate a Mini Excavator: A Beginner’s Step by Step Safety Guide
This guide systematically breaks down the essential knowledge of how to operate a mini excavator, helping you work safely and complete tasks efficiently
Whether you’re new to mini excavators or a seasoned operator, thorough preparation before beginning actual construction work is both a prerequisite for safe operation and a key factor in extending the machine’s service life.
For mini excavators, methodical operation is the dual guarantee of efficiency and safety—itemized pre-operation checks and standardized post-operation maintenance have long been internalized as operators’ instinctive habits. Meanwhile, the risk-laden “minefields” during operation must be avoided vigilantly.
This guide on how to operate a mini excavator will break down the basic essentials and key precautions step by step, helping you avoid pitfalls and double your efficiency on the job.
What Is a Mini Excavator?
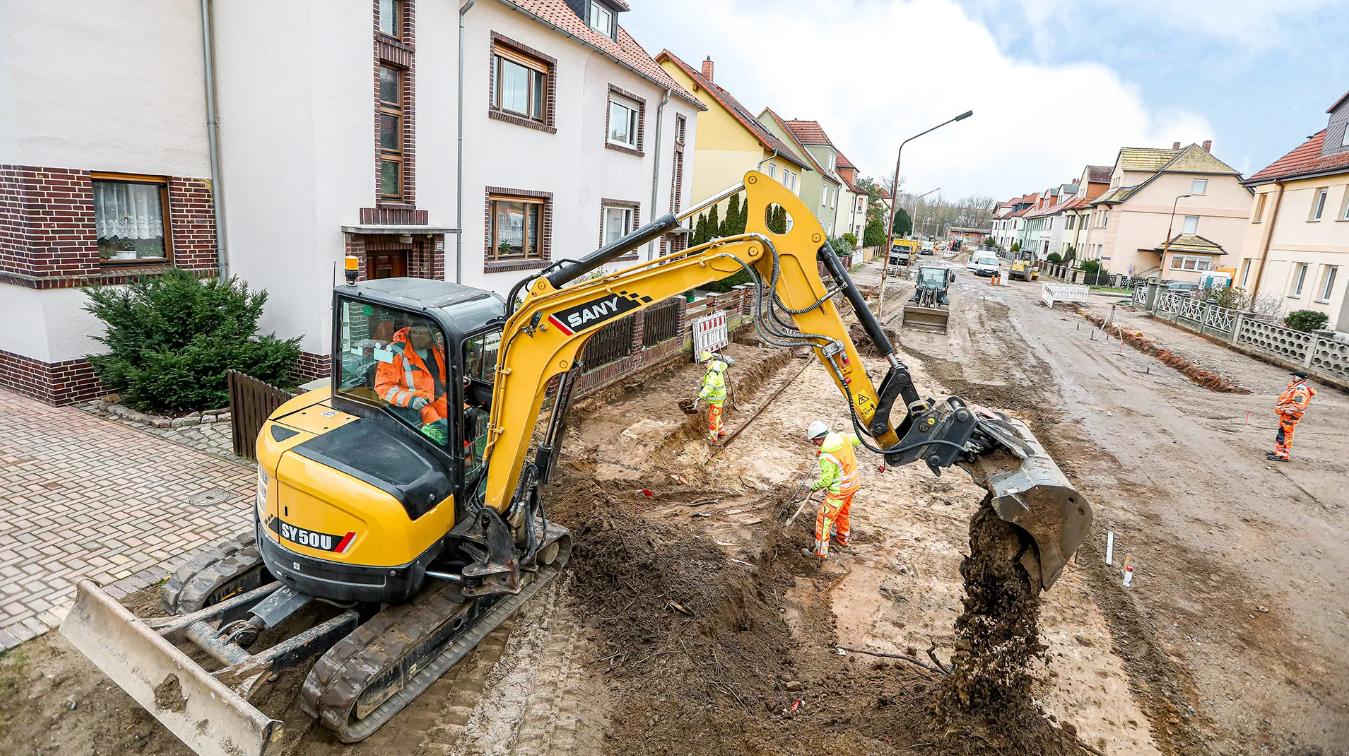
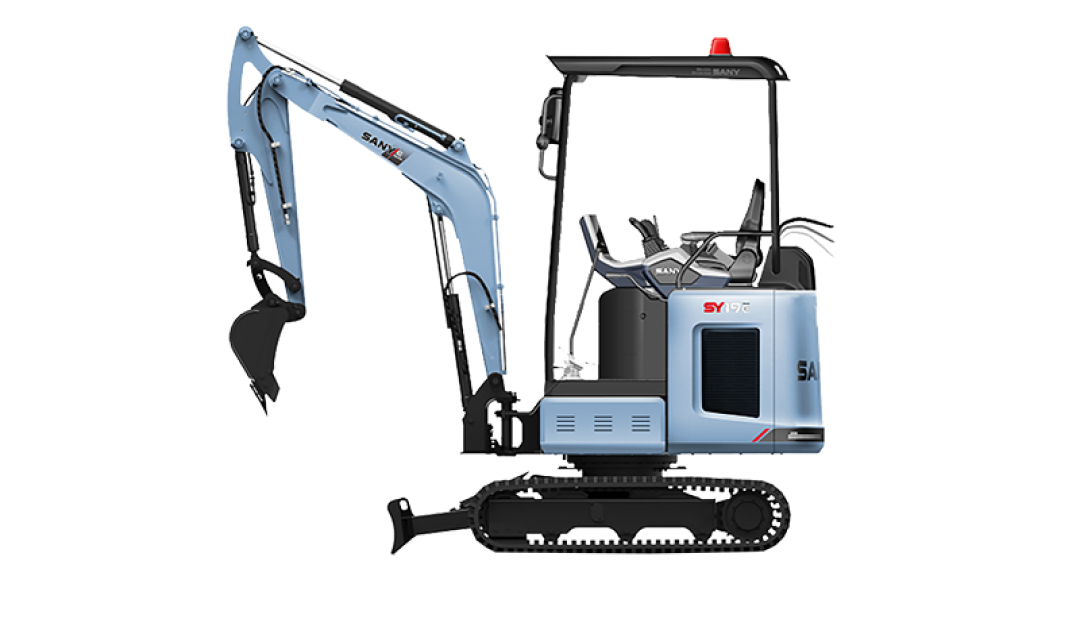
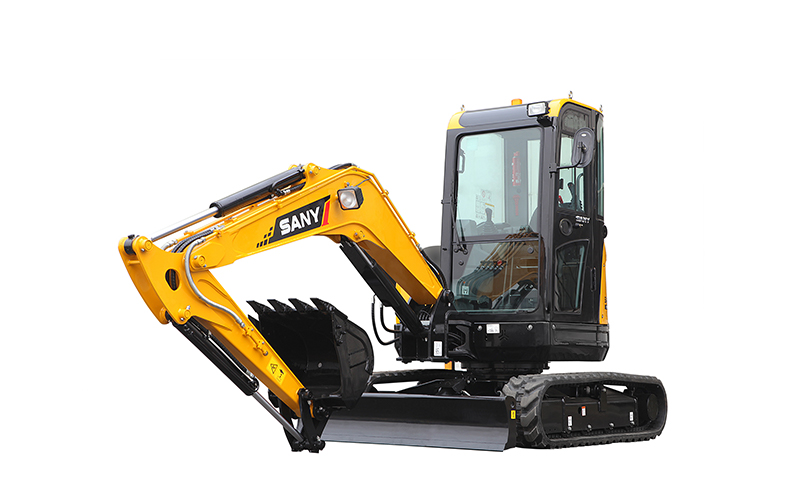
A mini excavator is a compact, agile and efficient construction machine, with an overall weight typically ranging from 1 to 6 tons (for example, SANY mini excavators weigh 1–5 tons, while some brands use broader standards and even include models under 10 tons in this category). Small in size and easy to operate, these machines are widely used in small and medium engineering projects and are key equipment for replacing manual labor in small-scale operations.
Basic Structure
They retain the core structure of traditional excavators, with only their size optimized to fit small-scale scenarios:
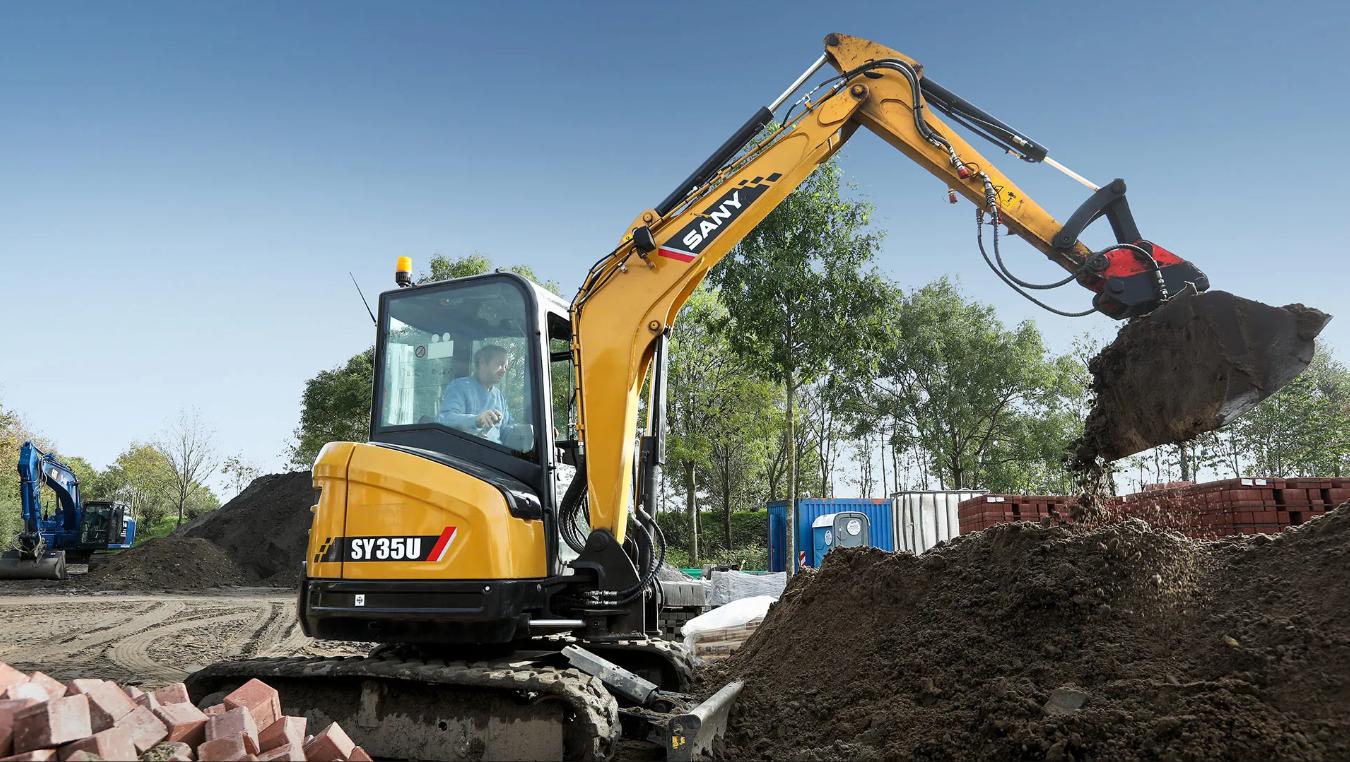
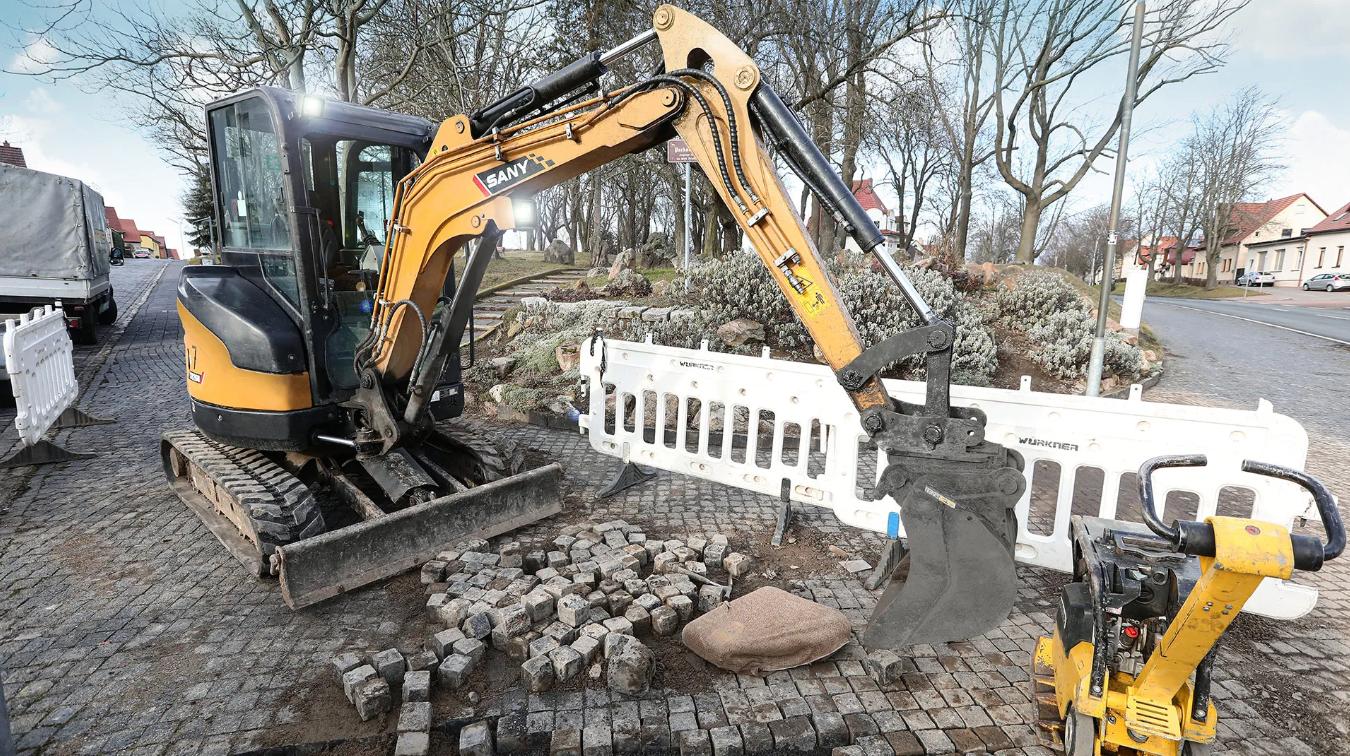
- Working equipment: This includes a boom (main arm), an arm (stick) and a bucket (digging tool) to meet basic digging needs.
- Chassis: Most are crawler-type (to handle complex terrain), while some are wheeled (better for movement on hardened roads).
- Power and control: They are typically powered by a diesel engine paired with a simplified hydraulic control system to lower the operational threshold.
Core Advantages
- High maneuverability: With a narrow body and small turning radius, they can operate in confined areas such as yards and indoor spaces with minimal blind spots.
- Easy to transport: No overweight transport permits are usually required—ordinary trailers can be used, significantly reducing cross-site transport costs.
- Low surface damage: Low ground contact pressure from tracks or tires causes minimal rolling damage to surfaces like roads and lawns.
- High efficiency and fuel economy: Digging efficiency is 5–10 times higher than manual labor, and fuel consumption is significantly lower than that of medium and large excavators.
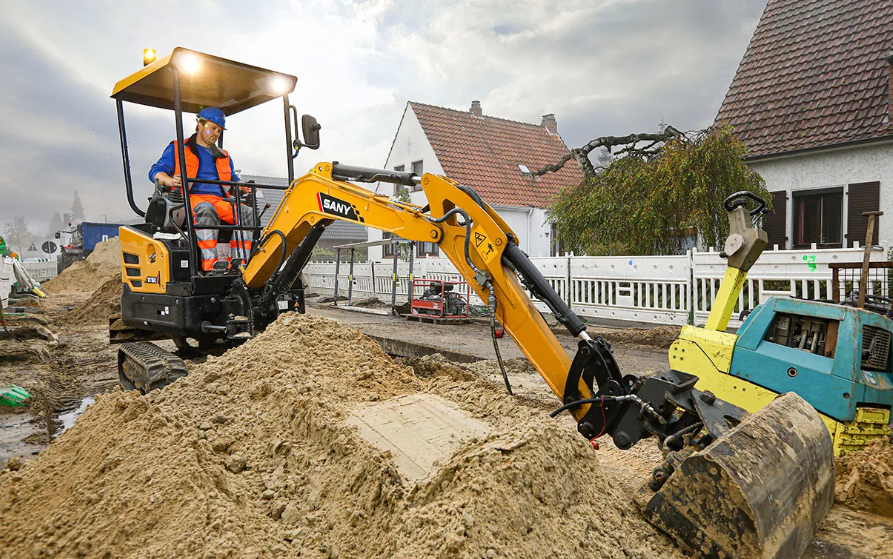
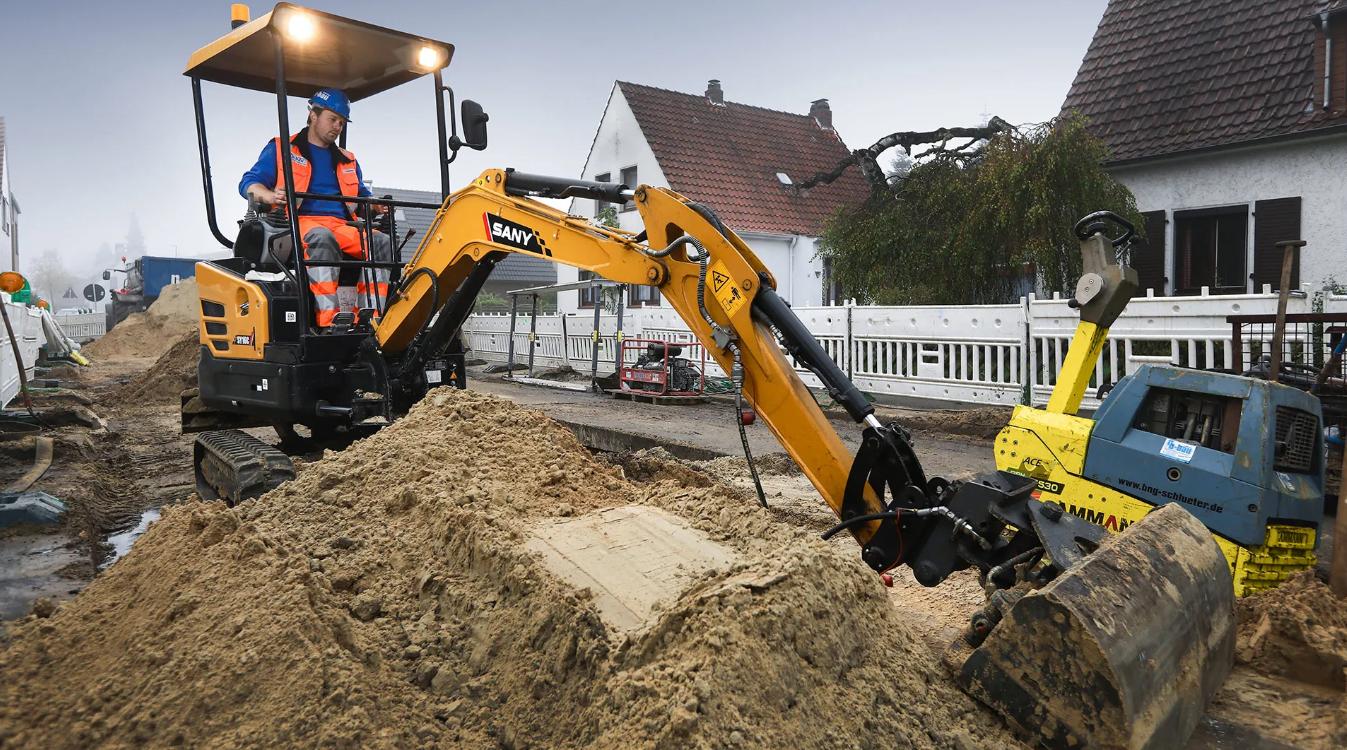
Typical Application Scenarios
- Municipal engineering: Pipeline excavation, sidewalk repair, and small foundation pit excavation.
- Agriculture and landscaping: Greenhouse foundation work, irrigation ditch digging and tree transplanting pits.
- Small-scale construction: Site leveling, indoor demolition (ultra-compact models can even fit through elevators) and short-distance material transfer.
- Emergency engineering: Clearing small landslides and rescue operations in narrow areas.
Key Differences from Medium and Large Excavators
| Dimension | Mini Excavators | Medium and Large Excavators |
| Size and Weight | Compact (narrow body, small turning radius), 1-10 tons | Large (wide body, large turning radius), over 10 tons |
| Transportation and Scenarios | Transportable by standard trailers; suitable for narrow spaces (e.g., indoors, alleys) | Require specialized trailers or flatbed trucks; suitable for open sites (e.g., mines, large infrastructure projects) |
| Operational Threshold | Simplified structure, easier for beginners to learn | Complex systems, require professional training |
How to Operate a Mini Excavator?
How to drive a mini excavator? Operating a mini excavator requires following the standard sequence: Preparation → Startup → Basic Operation → Site Adaptation → Safe Shutdown. Below is a general operation guide applicable to mainstream mini excavator models:
Pre-operation Preparation
1. Equipment Inspection
- Core systems: Check the hydraulic oil level (usually via a transparent sight glass on the hydraulic tank) and the engine oil level with the dipstick; ensure there are no leaks in hoses and pipelines. Inspect the air filter for dust accumulation—clean or replace if necessary.
- Structural components: For models with adjustable undercarriages, test the width adjustment to ensure smooth extension and retraction. Check the connecting pins of the boom, arm, and bucket for looseness or excessive wear. For tracked models, verify track tension (press the middle of the track by hand; a sag of 30–50 mm is appropriate). For wheeled models, check tire pressure and wear.
- Control systems: After entering the cab, confirm that the left and right joysticks and travel controls (joysticks or pedals) are in neutral. Ensure the seatbelt is intact and the instrument panel shows no fault alerts (check fuel level, coolant temperature, and hydraulic oil temperature).
2. Environment Check
Clear obstacles from the work area (stones, wires, underground pipes, etc.) and reserve a safety buffer of at least 3 meters. Level ground with a slope greater than 15° before operation. Never park or start on one side of soft ground, such as mud or loose soil.
Startup and Warm-up
- Pre-start: Insert the key and turn to the ON position; wait 3–5 seconds to allow the fuel pump to prime. After the instrument panel completes self-checks (no red light alerts) and all joysticks are confirmed in neutral, turn to START to crank the engine (some models support one-button start).
- Idle warm-up: Let the engine idle for 3–5 minutes after start (extend to 5–8 minutes in winter). Wait until normal operating temperatures are indicated: coolant above 60°C and hydraulic oil above 40°C. During warm-up, gently move the joysticks (slightly lift the boom, open/close the bucket) to help purge air from the hydraulic system.
Basic Operations:
The core of mini excavator operation is the left/right joysticks for the working equipment and travel controls for movement. Most mainstream models use pilot controls, with the following logic:
Operating the Working Equipment (Left/Right Joysticks)
1. Left joystick (rotation + stick):
- Push forward: stick retracts (bucket moves toward the machine).
- Pull back: stick extends (bucket moves away from the machine).
- Move left: the upper structure rotates left.
- Move right: the upper structure rotates right.
2. Right joystick (boom + bucket):
- Push forward: bucket dumps (bucket opening faces down).
- Pull back: bucket curls (bucket opening faces up, used for digging).
- Move left: boom lowers (bucket approaches the ground).
- Move right: boom lifts (bucket rises off the ground).
Tip: Beginners should first practice single actions (for example, curling the bucket or dumping the bucket alone) at low speed. Once proficient, practice compound actions in sequence (for example, curl bucket + lift boom + rotate) to avoid equipment shake from abrupt joystick movements.
Travel Operations (Track/Tire Control)
Tracked models: Travel joysticks are usually on both sides of the seat. Pushing one joystick forward moves the corresponding track forward; pulling it back moves that track backward.
- Push both forward: the machine moves straight forward.
- Pull both back: machine moves straight backward.
- Push one forward and pull the other back: the machine turns in place (small turning radius, suitable for tight spaces).
Wheeled models: Direction is commonly controlled via a steering wheel, with forward/reverse gears and accelerator pedals similar to road vehicles. Note the higher center of gravity and slow down when turning.
Safe Shutdown
- Before shutting down, lower the bucket to the ground, position the boom and arm in natural rest positions, return all joysticks to neutral, and let the engine idle for 2–3 minutes to cool the engine and hydraulic system.
- Turn the key to OFF and remove it. Inspect the equipment exterior (for example, check if the bucket is jammed or tracks have stuck mud), clean debris and lock the cab.
Key principle: Always operate with slow starts and steady movements. Avoid sudden stops or aggressive joystick actions—this improves safety and reduces equipment wear. Beginners are advised to practice basic actions in an open area for 10–20 hours before working on an actual job site.
Common Mistakes to Avoid When Using a Mini Excavator
When using a mini excavator, here are common incorrect practices and precautions:
1. Avoid Using Rotational Force
Do not use the excavator’s rotational force for operations such as raking soil, demolition work, or forcibly inserting bucket teeth into the ground, as this may cause damage to the machine and attachments.
2. Avoid Digging Using Traction Force
Avoid digging by using traction force after inserting the bucket into the ground, as this can place excessive load on the rear of the machine and damage the track drive system.
3. Control Hydraulic Cylinder Stroke
Try to avoid extending or retracting hydraulic cylinders to their full stroke; frequent full-stroke operations will shorten the service life of mechanical components.
4. Standardize Digging Operations
When digging, lower the boom while retracting the arm and curling the bucket. Avoid using the bucket’s dropping force or the machine’s own weight for digging or striking, to prevent rear overload or damage to components.
5. Handling Rock Operations
Do not directly dig rocks with the excavator; instead, first break them with a hydraulic breaker before digging. This protects the machine and improves efficiency.
6. Work Environment Safety
Avoid operating under high cliffs or embankments, or near suspended objects or edges of material piles, to prevent the risk of landslides or collapses.
7. Do Not Use for Unspecified Purposes
Do not use the excavator to hoist personnel or as a crane, and do not allow unauthorized personnel in the cab.
8. Other Precautions
- When stopping during operation, park on flat ground and lock the tracks.
- Avoid rotating or making sharp turns while the bucket is still in contact with the work surface.
- Do not operate under overhead structures such as power lines.
- When parking on a slope, lower the bucket to the ground and place the joysticks in neutral.
Tips for Operating a Mini Excavator
Operating a mini excavator requires mastering certain skills. Here are some practical tips:
Startup and Warm-up
After a cold start of the engine, let it idle for about 5 minutes first. Wait until the engine oil is fully lubricated before gradually increasing the throttle. Avoid sudden acceleration to prevent damage to the engine.
Digging Tips
- Bucket penetration technique: Bucket teeth should penetrate the soil like a knife cutting vegetables, rather than strike it. This reduces resistance and improves efficiency.
- Angle control: Keep the bucket teeth at an angle of about 30° to the ground, and the arm angle between 30° and 45°—this ensures optimal digging force.
- Avoid overloading: When digging rocks or hard objects, break them up first before digging. Never use the bucket for direct impact to prevent excessive wear on bucket teeth or damage to the machine.
Loading and Unloading
- Loading height: Try to keep the truck at the same height as the work surface to improve loading efficiency.
- Unloading tips: When unloading, combine arm retraction and bucket opening, and use momentum to unload quickly to reduce wasted time.
Leveling Work
- Triangle principle: When leveling, control the bucket’s linear movement through coordinated boom and arm actions. This requires practice to master.
- Avoid rotating for leveling: Never use rotation + bucket for leveling, as it may cause the bucket to hit hard objects and damage the equipment.
Safety Precautions
- Blind spots: The right rear is a blind spot. When working, keep to the left as much as possible and leave space on the right to avoid collisions.
- Parking position: Avoid parking in dangerous areas such as slopes, low-lying, waterlogged areas, or under high-rise structures to prevent tipping or equipment damage.
- Door locking: Always ensure the door is locked while operating to prevent the door from suddenly closing and pinching the arm when the machine is going downhill or being towed.
Operation in Special Scenarios
- Passing under power lines: If you need to pass under power lines, lower the bucket to provide a buffer for the machine body, move slowly, and avoid contact by rotating. Operate with extreme caution.
- Soft ground: When working in soft soil areas, limit the bucket’s digging range to prevent the machine from sinking or landslides.
Core principle: The core skills in operating a mini excavator are the perception and control of the machine’s forces, center of gravity, and motion rhythm. Steady, controlled progress is more important than pursuing speed—it ensures safety while reducing equipment wear.
Maintenance Tips After Operating a Mini Excavator
Proper maintenance immediately after operating a mini excavator can effectively reduce breakdowns and extend equipment life. Here’s a concise guide:
1. Immediate Cleaning
- Rinse soil and debris from the bucket, boom, and arm; remove sediment from tracks or tires to avoid accelerated wear.
- Clean the radiator and air filter (use compressed air on the radiator) to prevent overheating and ensure proper airflow.
2. Core Component Checks
- Hydraulics: Inspect for leaks in hoses, joints, and cylinders; check oil levels with the machine cold.
- Engine and transmission: Verify oil and coolant levels; check for milky (emulsified) oil or loose parts such as tracks, wheels, and bolts.
- Structural parts: Inspect bucket teeth, cutting edges, and connecting pins for wear; lubricate and tighten if loose.
3. Refill & Lubrication
- Refill or replace hydraulic oil, engine oil, and coolant according to specifications; avoid mixing brands.
- Grease high-movement parts (pins, slewing bearings) after cleaning the grease nipples and expel old grease.
4. Long-Term Storage (Over 3 Days)
- Lower the bucket, extend the boom and arm, and set the joysticks to neutral; cover with a tarp.
- For storage longer than one month, drain the diesel and disconnect the battery.
Match maintenance frequency to usage—daily checks for frequent use and monthly full inspections for intermittent use. This keeps the excavator reliable and reduces repair costs.
Conclusion
The core essence of "how to operate a mini excavator" and "how to use a mini excavator" lies in treating "proper operation" and "meticulous maintenance" as an indivisible whole. Operation is the key to unlocking the equipment's performance, while maintenance is the guarantee of extended service life. Only when the two complement each other can we effectively reduce the risk of malfunctions and enable the mini excavator to deliver consistent value across varied working conditions.
FAQs
Is it hard to learn to operate a mini excavator?
The difficulty of learning to operate a mini excavator varies from person to person.
- Introductory stage: involves mastering basic operations such as bucket lifting and lowering, rotation, and movement, plus understanding safety rules. Formal training helps you grasp mechanical principles and operational logic more quickly, reducing initial difficulty.
- Proficiency stage: requires gaining experience in varied working conditions (for example, excavating hard soil or working in confined spaces) and improving precision in equipment control, which takes regular practice.
With dedicated study and ample hands-on practice, most people can master basic operations after systematic training; becoming truly proficient requires ongoing practice.
How long does it take to get used to the controls?
There is no fixed timeframe for becoming comfortable with mini excavator controls; it depends on individual aptitude, training intensity, the complexity of work scenarios, and whether you receive structured instruction.
Going from basic operation to handling common scenarios typically takes 1–4 weeks. Achieving proficiency usually takes 1–6 months, depending on how often you practice.
Systematic training and guidance from experienced instructors can significantly shorten the learning curve and help prevent the formation of bad habits.
Do I need a license to operate a mini excavator on private property?
Whether a license is required varies by country or region and depends mainly on three factors:
- Machine weight: Micro-excavators under 3 tons may be exempt for non-commercial use in some countries (for example, New Zealand and Australia). Machines over 3 tons typically require a license.
- Purpose of operation: Non-commercial activities (such as home renovation) may be less strictly regulated in some places, while commercial use (for example, contracting work) usually requires certification (for example, CPCS in parts of Europe or equivalent local qualifications).
- Public road transport: If you need to move the excavator on public roads, you must comply with traffic registration rules regardless of weight (for example, conditional registration in Australia or transport permits in the U.S.).
Recommendations: First, check the machine’s weight and local regulations (consult your local labor or transport authority). For non-commercial use, ensure equipment safety and obtain basic instruction. For commercial operations, complete the required certified training.
Featured Products
Recommend Blogs
How Much Does a Mini Excavator Weigh? Your Complete Guide
A mini excavator’s weight is key to transportation, performance, and practical applications. This article breaks down the question of how much a mini excavator weighs, helping readers understand these compact machines
How to Pick the Best Mini Excavator: Key Features to Look for
This guide outlines mini excavators' definition, advantages, and tips for selecting the best mini excavator, acting as a reference for grasping this practical machinery.