How to Mix Concrete? Hands-On Guide
How to mix concrete? This article details methods, mix ratios and common mistakes to help construction workers master techniques and ensure quality.
Proper concrete mixing is crucial for ensuring the strength and durability of construction projects, whether it’s a small patio slab or a garden wall. Mastering the correct concrete mixing methods can avoid common issues such as insufficient strength, cracking, and uneven curing. This guide explains how to mix concrete step by step, from hand mixing suitable for small projects to machine mixing for large-scale operations, along with key mix ratio standards and safety tips, helping you easily achieve professional-level construction results.

How to Mix Concrete? Hand Mixing Method
Hand mixing is a basic way to mix concrete, ideal for small DIY projects with low material demand and flexible scenarios. It has a low entry barrier but requires standardized procedures to ensure results. Before starting, prepare all necessary materials and tools in advance to avoid delaying progress or affecting concrete quality due to searching for items midway. Proper material matching and tool selection can make hand mixing more efficient, and following the steps later helps achieve consistent concrete quality to meet basic construction needs. Below are the required materials, tools, and detailed operation guide for hand mixing concrete.
Required Materials and Tools
- Ready-mix concrete bags (or cement, sand, aggregates)
- Water (added according to the manufacturer’s recommended dosage)
- Wheelbarrow or mixing tub
- Shovel or garden hoe
- Measuring bucket
- Gloves and goggles
Step-by-Step Operation Guide
- Prepare dry materials: Pour dry concrete mix into a wheelbarrow or mixing tub and dig a depression in the center.
- Add water gradually: Pour about two-thirds of the recommended water into the depression.
- Initial mixing: Use a hoe to slowly pull dry materials from the edges into the water, mixing from outside to inside.
- Check consistency: Mix until it reaches a thick oatmeal-like texture that holds its shape when squeezed—never mix into a paste.
- Final mixing: Continue turning and mixing for several minutes to ensure all aggregates are coated with cement paste and the mixture has a uniform texture.
- Use immediately: Concrete sets quickly, so control the amount mixed each time to what can be used up promptly.
How to Use a Concrete Mixer to Mix Concrete?
If you don't want to mix concrete manually, or if you anticipate undertaking a significant amount of concrete work, using a concrete mixer is more suitable. A concrete mixer can significantly improve the uniformity of the mixture, shorten construction time, and prevent problems such as insufficient concrete strength caused by uneven mixing. Next, we will talk about how to use it. The following operating guide will cover everything from preparation and step-by-step procedures to key considerations, helping you quickly master standardized mixing methods and easily handle various pouring scenarios.
Pre-Operation Preparation
- Safety first: Wear goggles, gloves, and a respirator to protect against dust and wet cement hazards.
- Material preparation: Measure the required water in advance and prepare bagged mix.
- Read instructions: Refer to the specific water-to-mix ratio indicated on the ready-mix concrete bag.
Mixing Steps
- Position the mixer: Place the equipment on a flat surface and adjust the drum to a slightly inclined position for easy mixing.
- Add water: Start the mixer and pour about half to three-quarters of the pre-measured water into the drum to wet the inner wall.
- Add dry mix: First, add half of the dry mix (cement, sand, aggregates) and let it mix dry for a few minutes.
- Add remaining water: While the mixer is running continuously, slowly add the remaining water until the desired consistency is achieved.
- Check consistency: The ideal mixture should be similar to thick porridge or oatmeal—able to form a clump that holds its shape but crumbles easily when touched, without breaking apart immediately.
- Mix and discharge: Continue mixing for several minutes to ensure uniformity, then tilt the drum to pour concrete into a wheelbarrow, keeping the drum rotating during discharge.
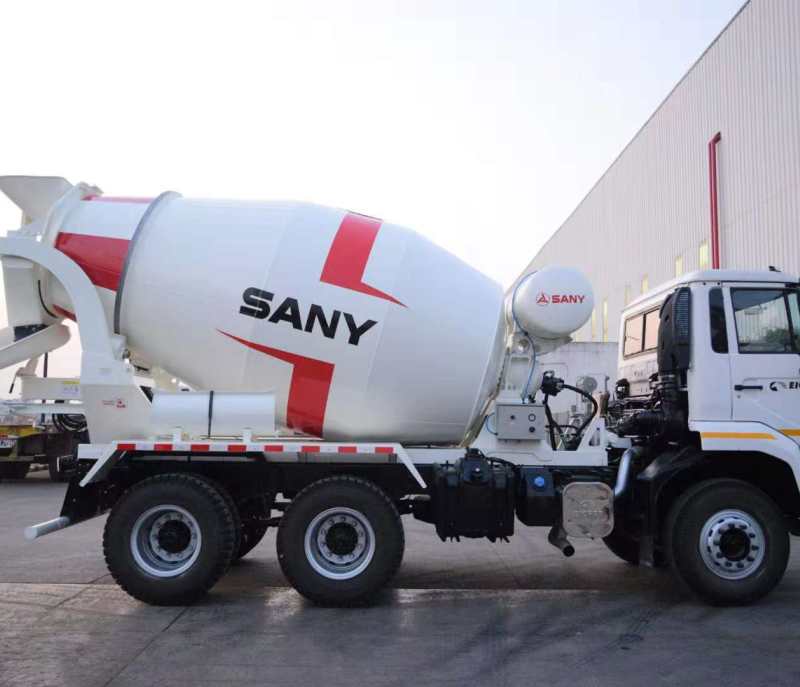
It's important to note that for large-scale projects such as building construction, road construction, and bridge building, using truck mixers is more suitable. Ordinary concrete mixers (especially stationary ones) can only mix concrete at a fixed location. Concrete mixed in this way will easily solidify and segregate if left standing for more than 30 minutes, making it impossible to transport directly to distant construction sites. Truck mixers, on the other hand, can deliver ready-mixed concrete directly to the site, maintaining the workability of the concrete by rotating the mixing drum at a low speed during transportation. SANY offers a range of reliable truck mixers. Using these SANY truck mixers can ensure that the slump, strength, and other indicators of each batch of concrete are consistent, guaranteeing high-quality concrete.

Concrete Mix Ratios for Common Scenarios
Whether mixing by hand or with a concrete mixer, ensuring the correct concrete mix ratio is essential to produce durable, high-strength concrete. The concrete mix ratio refers to the proportion of various components used to make concrete, which typically includes cement, water, sand, and aggregates (usually gravel or crushed stone).
The standard mix ratio for general purposes is 1 part cement, 2 parts sand, and 3 parts aggregates (1:2:3), but the ratio can be significantly adjusted according to project requirements. Below are the concrete mix ratios for several common scenarios:
1:2:4 (M15 Strength Grade)
Also suitable for driveways, floors, and general load-bearing components.
1:1.5:3 (M20 Strength Grade)
Used for reinforced concrete projects and floor slab pouring.
1:1:2 (M25 Strength Grade)
Suitable for heavy load-bearing structures.
1:4:8 (M7.5 Strength Grade)
Used for non-load-bearing foundations such as wall footings.
1:5:10 (M5 Strength Grade)
Suitable for non-load-bearing scenarios such as pavements.
Common Mistakes and Solutions
It’s inevitable that the desired results may not be achieved during concrete mixing. You can troubleshoot and improve according to the following causes and methods:
Adding Too Much Water
Causes insufficient concrete strength and porous texture.
Solution: Strictly follow the correct water-cement ratio, aiming for a damp sand-like consistency rather than a thin porridge-like texture.
Incorrect Mix Ratio
Randomly adjusting the proportion of cement, sand, or aggregates will weaken the structural strength of concrete.
Solution: Adopt proven mix ratios, such as 1 part cement, 2 parts sand, and 3 parts aggregates. Never reduce cement dosage to cut costs.
Improper Mixing
Insufficient mixing leads to clumping; over-mixing damages the cement structure.
Solution: Mix until the mixture has a uniform texture (3-5 minutes), then stop immediately. Use mixing paddles suitable for the materials.
Low-quality Materials
Using expired cement, impure sand/stone, or unclean water affects concrete quality.
Solution: Choose fresh, powdery cement; clean aggregates; and potable water.
Poor Construction Site Preparation
An uneven or soft soil base is prone to causing concrete cracking.
Solution: Compact the base and lay a solid, flat foundation with gravel.
Extreme Weather Effects
High temperatures cause concrete to dry too quickly; low temperatures cause the mixture to freeze.
Solution: Pour on warm, sunny days; take protective measures to avoid concrete exposure to extreme high or low temperatures.
Hasty Finishing
Starting finishing work while the surface still has moisture or overworking the concrete.
Solution: Wait for surface moisture to completely evaporate before finishing; use appropriate tools and grasp the right timing to avoid over-troweling.
Conclusion
How to mix concrete? Mastering the core points of this question is key to ensuring construction stability. Whether mixing by hand or machine, always remember the principle of "less water, thorough mixing, and accurate ratio" and avoid common mistakes to produce high-quality concrete as much as possible. In addition, concrete should be poured promptly after mixing and properly cured to develop its strength over time, ensuring each pouring project has both strength, durability, and aesthetics.
FAQs
What Is the 10/20/30/40 Rule When Making Concrete?
The 10/20/30/40 rule for concrete is a simple volume-based guideline, referring to approximately 10% cement (a binding material that hardens through hydration with water), 20% water and air, 30% sand (fine aggregates), and 40% gravel (coarse aggregates). However, this is a basic "rule of thumb" for material mixing in general scenarios; professional projects require precise weight-based mix designs to meet specific strength requirements.
Should You Pour Concrete Directly on Dirt?
Yes, concrete can be poured directly on dirt, but this method is not recommended for most projects. The reason is that soil is prone to loosening, has unstable moisture content, and contains organic matter, which can cause uneven settlement of concrete, leading to cracking, bulging during freeze-thaw cycles, and even structural damage. To achieve durable concrete slabs, proper base preparation is essential: remove organic matter from the soil, compact the base soil, lay a stable gravel or crushed stone cushion, and usually install a moisture barrier.
Does a 4-inch Concrete Slab Need Rebar?
For a 4-inch thick concrete slab placed directly on the base and only bearing light loads such as sidewalks or patios, rebar is generally not required. Instead, wire mesh or fiber-reinforced materials are more recommended to control concrete cracking. However, if the 4-inch slab needs to withstand frequent vehicle traffic (e.g., driveways) or significant stress, it is generally advisable to increase the slab thickness to 5-6 inches and install rebar—after all, a 4-inch thickness is too thin to effectively place rebar.
Featured Products

_143304.jpg)

Recommend Blogs
Detailed Analysis of How Many Yards of Concrete Are in a Cement Truck and 2026 Buying Guide
This article describes how many yards of concrete are in a cement truck, and introduces common types, factors affecting load capacity, and selection guidelines.

What Is Concrete Truck Volume? A detailed and practical guide to model selection
What is the concrete truck volume? The following article will detail the calculation method for concrete usage and efficient delivery techniques.

Cement Truck vs Concrete Truck: Key Differences and Selection Guide
Cement truck vs concrete truck: Are they the same? This article will provide a detailed answer to help you choose the right truck for your construction project.