Concrete Mixer Cleaning & Maintenance Essentials
This article focuses on concrete mixer cleaning, detailing the specific steps, troubleshooting, and maintenance points to make equipment operation easier.
Concrete mixers, as core equipment in construction projects, have operating conditions that directly impact construction efficiency, project quality, and operating costs. Concrete mixer cleaning is a fundamental prerequisite for maintaining equipment condition, yet it is often overlooked. This article focuses on concrete mixer cleaning, systematically outlining its importance, practical methods for different scenarios, and covering common troubleshooting and long-term maintenance techniques. It provides a comprehensive guide for operators, helping to standardize equipment management and maximize equipment lifespan and operational efficiency.
The Importance of Concrete Mixer Cleaning
Concrete mixer cleaning is not an optional finishing task, but a crucial step in ensuring stable equipment operation and construction quality. During mixing operations, if residual wet concrete is not cleaned promptly, it will quickly harden and adhere to the inner wall of the mixing drum, the mixing blades, and the discharge port, gradually accumulating into stubborn clumps.
This problem not only directly affects subsequent construction efficiency but also triggers a chain reaction of equipment wear and tear, substandard quality, and even potential safety hazards.
The following sections will detail the core value of cleaning concrete mixers from the key dimensions of equipment protection, quality assurance, and safety improvement, providing practical guidance for standardized operation and maintenance.
Prevent Clumping and Equipment Damage
Hardened concrete will occupy drum space, clog mixing blades, and increase motor load. This may eventually lead to equipment scrapping, incurring high maintenance or replacement costs.
Ensure Concrete Quality
Peeling old concrete debris mixed into new batches will form clumps, weaken the strength of finished products, and result in inconsistent concrete quality.
Extend Equipment Service Life
A clean mixer operates more smoothly and efficiently, with its service life significantly prolonged, thereby maximizing the return on equipment investment.
Improve Operational Safety
Hardened concrete lumps may fall off and splash, creating potential safety hazards. Timely cleaning can prevent sudden equipment failures and maintain a safer working environment.
Save Time and Labor
Rinsing promptly after each operation is far simpler and faster than chiseling off hardened concrete later — the latter is not only difficult and time-consuming but also carries safety risks.
Maintain Efficient Equipment Operation
A clean drum provides ample space for new mixtures, and mixing blades can perform to their full potential, avoiding additional operation runs caused by insufficient mixing capacity.
How to Clean a Concrete Mixer?
Cleaning a concrete mixer requires selecting the appropriate method based on the condition of the remaining concrete. Wet concrete residue should be dealt with immediately after use, as the stains have not yet hardened, resulting in higher cleaning efficiency and less damage to the equipment. If the residue has hardened and caked, a deep cleaning method is required, using specialized cleaning agents and tools to gradually soften and remove the concrete. The following sections will break down the operation steps in detail for different scenarios to help you complete the cleaning efficiently.
For Wet Concrete (Immediate Cleaning)
1. Remove large debris: Shovel out all loose chunks of concrete.
2. Add abrasive material: Pour clean water into the drum, then add several shovels of gravel or half a brick.
3. Start the mixer: Turn on the mixer and rotate the drum, tilting it appropriately to ensure the gravel scrubs all internal surfaces.
4. Drain and rinse: Empty the dirty water and gravel, then thoroughly rinse the inside of the drum with a high‑pressure water gun.
5. Scrub remaining residue: Use a stiff‑bristle brush to repeatedly scrub any remaining stains.
6. Clean the exterior: Rinse the exterior with clean water and a mild detergent; use high‑pressure washing for stubborn stains.
7. Dry before storage: Allow the mixer to dry completely before storing.
For Hardened Concrete (Deep Cleaning)
1. Safety first: Disconnect the power supply and wear gloves and safety goggles.
2. Apply cleaning agent: Evenly coat the inner walls of the drum with a commercial concrete dissolver or a high‑concentration vinegar‑water mixture. Tilt the drum to ensure full coverage.
3. Let it react: Allow the cleaning agent to work for the time recommended by the product.
4. Scrub and rinse: Use a brush together with a high‑pressure washer to remove softened concrete and chemical residues.
5. Repeat if necessary: Depending on the cleaning progress, repeat steps 2–4 until the drum is completely clean.
It's worth noting that while concrete mixer cleaning focuses on the mixing drum, truck mixer cleaning involves cleaning not only the mixing drum but also the vehicle body paintwork, exterior of the driver's cab, tires and wheels, chassis, and mudguards, depending on the situation. During the transportation of concrete, mud and debris accumulate on the truck body and chassis, which can easily corrode the paintwork and metal components. Timely cleaning helps maintain the vehicle's appearance and performance.

Cement Mixer Repairs and Troubleshooting
However, it is worth mentioning that in actual construction, even with timely concrete mixer cleaning, cement mixers can still experience malfunctions and problems due to other reasons, such as unusual noises or slow operation. Below are some common problems and their solutions.
Common Problems and Solutions
1. Noise and Vibration Issues: Tighten loose fasteners, remove debris from the mixing blades, inspect and replace worn bearings or gears, and align the position of the transmission at the same time.
2. Slow/Strenuous Motor Operation: Check the belt tension, inspect the power supply conditions, ensure sufficient lubrication of components, and confirm that the motor is not overheating.
3. Electrical Circuit Malfunctions: Check whether the wiring, connections and switches are damaged or incorrectly wired (operation must be performed with reference to the specific wiring diagram).
4. Leakage Issues: Inspect hoses and seals for damage; check the transmission oil level to confirm the presence of oil leakage.
Furthermore, for complex circuit problems, diagnosing internal gearbox or motor malfunctions, or structural repairs involving welding rusted flanges, it is recommended to seek professional assistance. Prioritizing repair services offered by the mixer manufacturer or finding an authorized service network that uses original parts will provide greater assurance of repair quality.
Long-term Maintenance Guidelines for Concrete Mixers
In addition to timely cleaning, to ensure the good operating condition of a concrete mixer, attention must also be paid to equipment maintenance, especially the following key points that cannot be ignored:
Daily Maintenance Tips (After Each Use)
1. Equipment Inspection: Check for loose bolts, obvious damage, or clogged components.
2. Lubrication Maintenance: Apply grease to key moving parts as required.
Weekly/Regular Inspection
1. Fluid Level Check: Verify that the levels of engine oil, coolant, and hydraulic oil are within the normal range.
2. Blade Inspection: Ensure that the mixing blades are securely fastened and free from excessive wear (a tilt angle of 30–35° is recommended).
3. Tire Inspection: Check tire pressure and tread condition.
Monthly/Periodic Maintenance Tasks
1. Engine/Air Filter: Clean or replace the air filter to ensure equipment operating efficiency.
2. Electrical System: Check for corrosion on battery terminals and test the functionality of all switches and lighting fixtures.
3. Transmission: Inspect the transmission oil level and oil condition; replace the lubricating oil regularly (e.g., every 2 years or 4,000 operating hours).
Core Principles for Extending Equipment Service Life
1. Follow the Manual: Operate and maintain the equipment strictly in accordance with the specific guidelines in the equipment manual.
2. Proper Storage: Store the mixer in a clean and dry environment.
3. Standardized Operation: Ensure that all operators have received professional training and can use the equipment correctly.
4. Prevent Scaling: Before mixing operations, apply a thin layer of diesel oil to the inner wall of the drum to facilitate subsequent cleaning.
Conclusion
In summary, the efficient and stable operation of a concrete mixer requires a foundation of concrete mixer cleaning, combined with accurate troubleshooting and regular long-term maintenance. These three elements are interdependent and indispensable. From immediate cleaning after operation to periodic inspections, every step of standardized operation can effectively prevent malfunctions, reduce costs, and ensure safety. By following the concrete mixer cleaning methods and comprehensive maintenance guidelines outlined in this article, and implementing equipment management responsibilities, you can ensure that the equipment remains in good condition and provide a solid guarantee for the smooth progress of the project.
FAQs
What Can You Use to Clean a Concrete Mixer?
When cleaning a concrete mixer, first rinse the inside of the drum with water, then scrub it with abrasive materials such as gravel or bricks. For dried concrete residue, use a specialized concrete dissolving agent, white vinegar, or a mild detergent. Always start with rinsing with water as the basic step, and ensure the power is turned off and personal protective equipment is worn to guarantee safety. For severe buildup, mechanical tools such as a high-pressure washer or a hammer and chisel can be used for initial removal before chemical cleaning.
How to Get Dried Mortar off Mixer?
To remove dried mortar from a concrete mixer, use the "gravel and water method" (scrubbing via rotational friction with gravel and water in the drum), manual chiseling, or a chemical mortar solvent (e.g., acidic solutions or specialized products). Prioritize safety: wear protective gear at all times and never heat the mixer with fuel (open flames strictly prohibited). The easiest and most efficient way is to clean the mortar before it dries—rinse and scrub the drum immediately to prevent adhesion and buildup.
How to Clean the Inside of a Concrete Mixer?
When cleaning the inside of a concrete mixer, first remove any loose residue from the drum, then fill it with water and add gravel or a concrete dissolving agent. Run the mixer for 10 -15 minutes to use the rotational force to scrub the inner wall of the drum. Finally, drain the wastewater and debris, and thoroughly rinse the drum with a high-pressure washer or hose. If stubborn deposits remain, repeat the above steps. Ensure the mixer's power is turned off throughout the process and that the mud drainage is unobstructed.
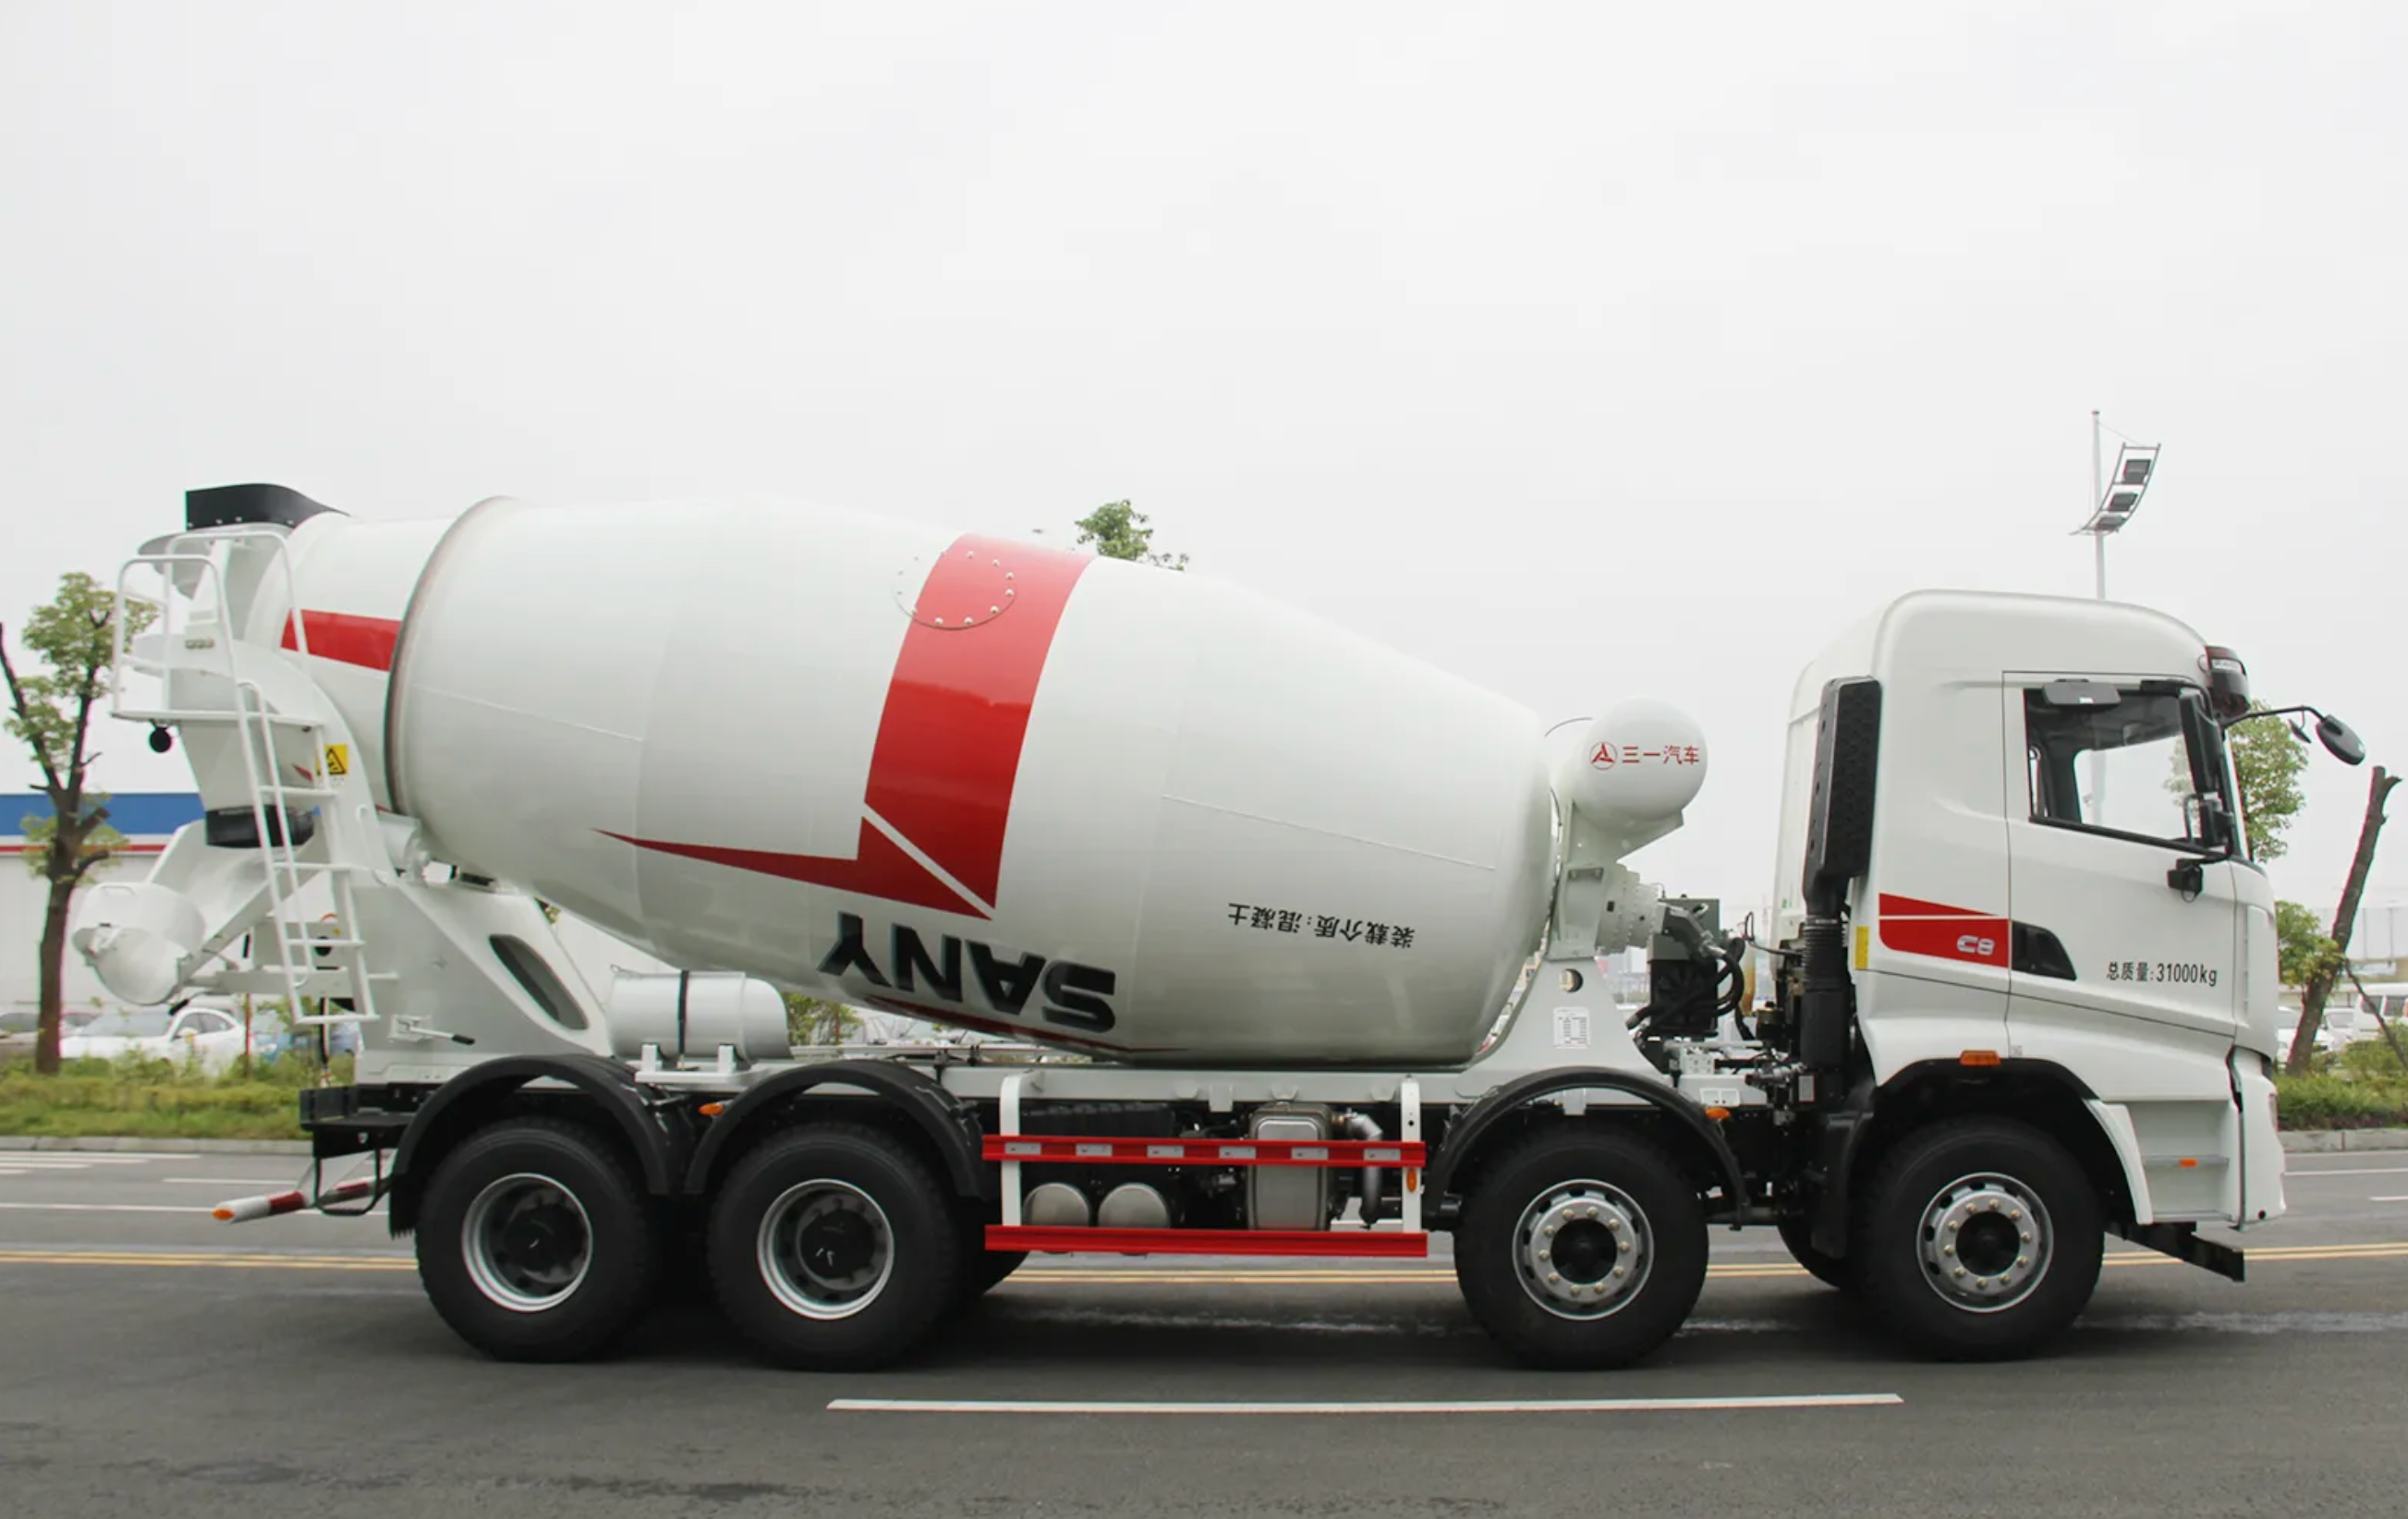
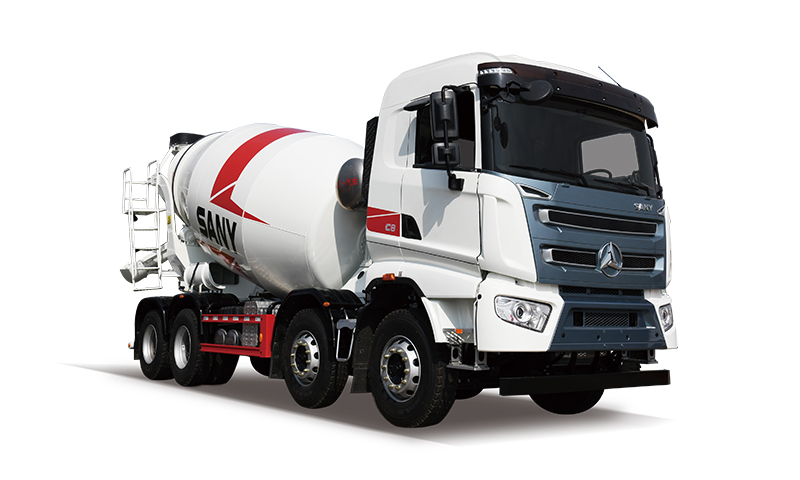
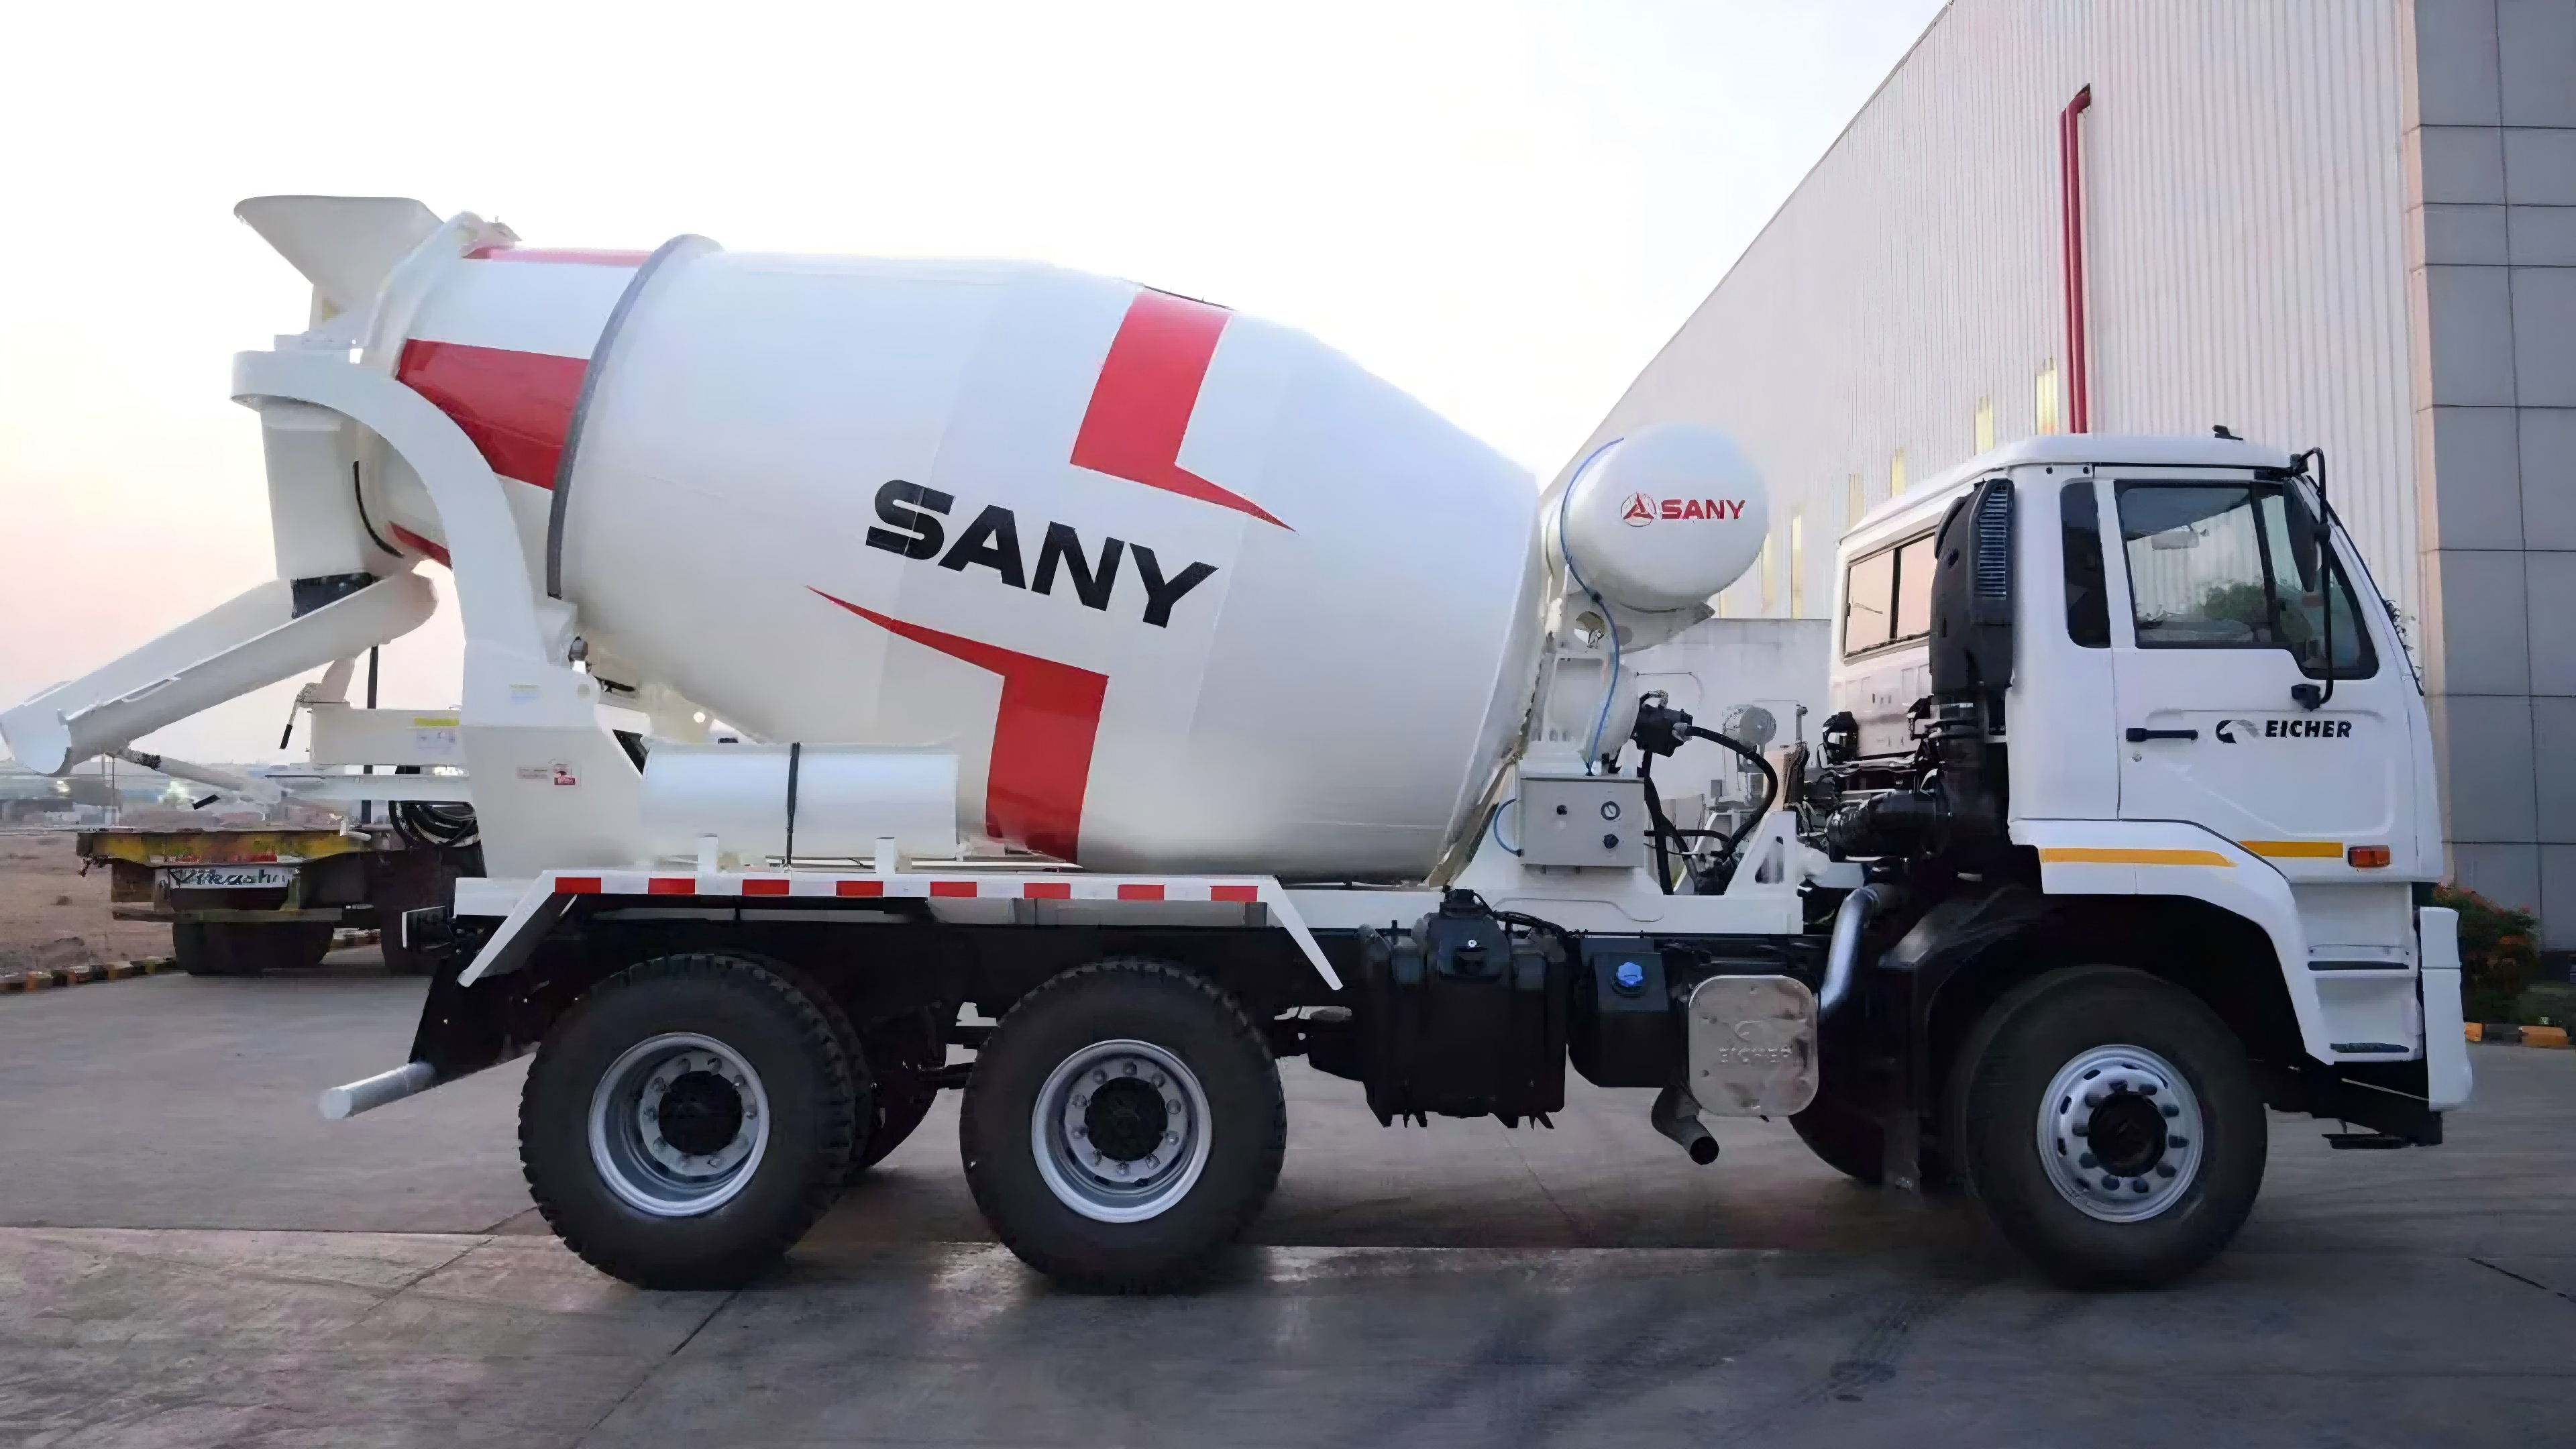
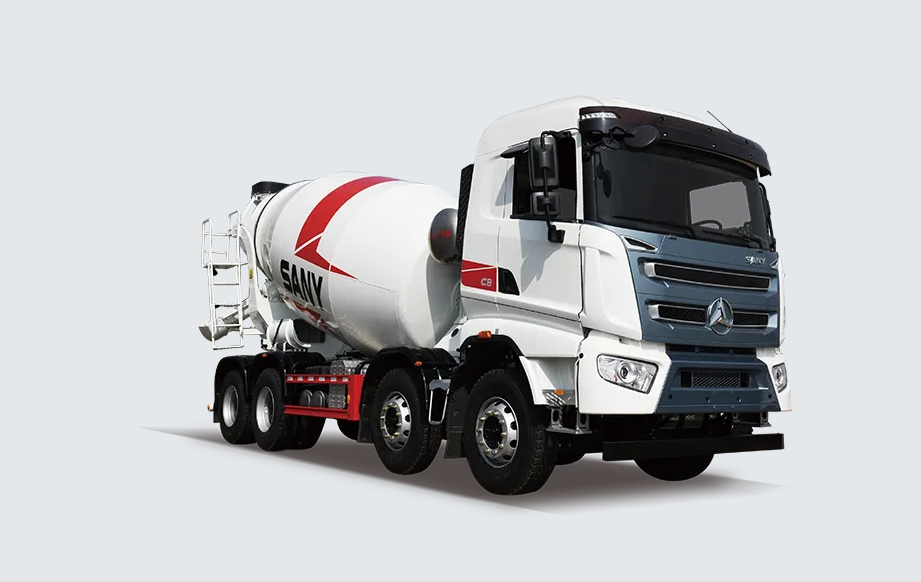
Featured Products
-OE_160931.jpg)
_160259.jpg)
Recommend Blogs
Understand Concrete Trucks Cost, Control Construction Budgets
This article details concrete trucks costs, compares purchase and rental models, analyzes key cost factors, and guides contractors in selection to aid cost control.
Cement Truck vs Concrete Truck: Key Differences and Selection Guide
Cement truck vs concrete truck: Are they the same? This article will provide a detailed answer to help you choose the right truck for your construction project.

How Does Concrete Mixer Truck Work? Essential Insights for Construction Workers
This guide explains how does concrete mixer truck work, offering solutions for equipment selection, usage, and maintenance based on your construction needs.